
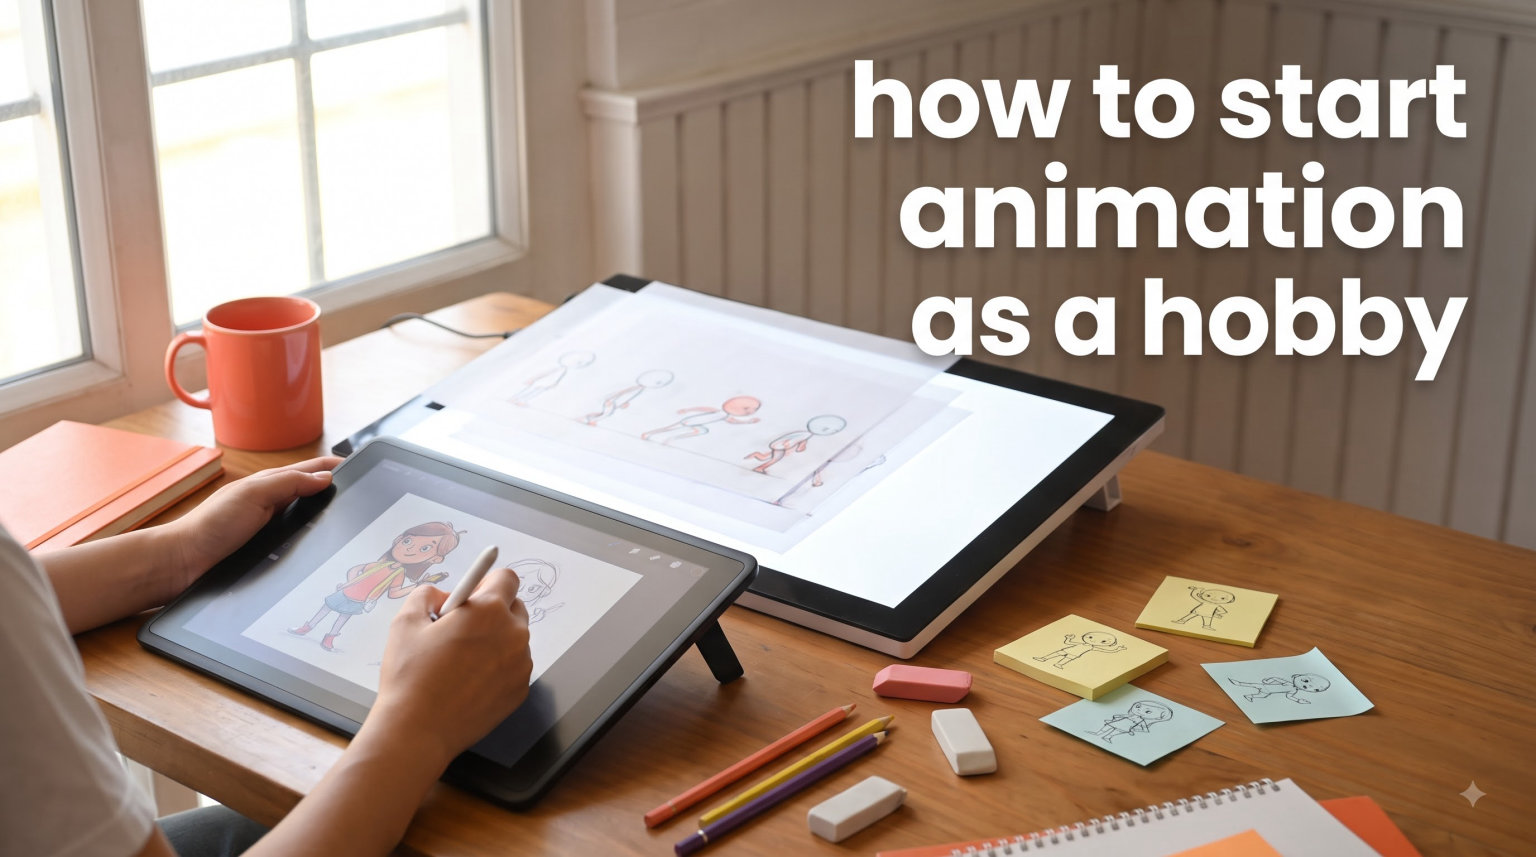
When I first tried animation, I grabbed a stack of sticky notes and drew the same character over and over with tiny changes between each page. When I flipped through them quickly, my character came to life. That moment hooked me completely. You do not need expensive software, a fancy tablet, or years of training to start animating. You just need curiosity and willingness to learn. This guide walks you through how to start animation as a hobby, step by step, with the same practical advice I wish I had when I began.
Table of Contents
What Is Animation?
Animation is the art of bringing static images to life by displaying them in rapid sequence to create the illusion of movement. When you watch a cartoon, a movie with CGI characters, or even those funny GIFs online, you are watching a series of images played back faster than the human eye can process individually. This phenomenon is called persistence of vision, and it is the foundation of everything in animation.
Each individual image in an animation is called a frame. Most animation runs at 24 frames per second (fps), meaning 24 images flash by every second. Some animation uses 30 fps or even 60 fps for smoother motion. The higher the frame rate, the smoother the movement appears, but it also means creating more individual images.
Keyframes are the most important frames in any animation. They mark the start and end points of a movement. For example, if you want a ball to bounce, your keyframes would be the ball at the top of the bounce and the ball at the bottom. Everything between those keyframes, called in-betweens or tweening, fills in the motion smoothly.
Types of Animation You Can Learn
Before you start, it helps to understand the different styles of animation. Each type has its own tools, techniques, and learning curve. The good news is that you do not need to commit to just one. Many animators start with one type and explore others as they grow.
2D Animation
2D animation involves creating movement in a two-dimensional space. This is the classic style you see in traditional hand-drawn cartoons. Animators draw each frame individually, either on paper or digitally using software. The characters and backgrounds exist on flat planes, and movement happens along X and Y axes.
Popular 2D animation includes everything from Disney classics to modern web series. The tools range from simple drawing programs to professional-grade software. Many beginners start here because the barrier to entry is relatively low. You can create basic 2D animation with just a computer and free software.
3D Animation
3D animation creates movement in a three-dimensional digital space. Characters and objects have depth, and animators position them within a virtual environment. This is the style used in most modern films, video games, and commercials.
Software like Blender, Maya, and Cinema 4D powers 3D animation. The learning curve is steeper than 2D because you need to understand modeling, lighting, and rendering in addition to movement. However, many hobbyists find 3D animation deeply rewarding once they get past the initial learning phase.
Stop-Motion Animation
Stop-motion animation involves taking photographs of physical objects and moving them slightly between each shot. When played back in sequence, the objects appear to move on their own. This style includes claymation (using clay figures), cutout animation (paper cutouts), and puppet animation.
You can create stop-motion animation with just a smartphone camera and some household items. Reddit communities share examples of people using sticky notes, Lego figures, and even food items to create charming animations. The tactile nature of stop-motion makes it accessible for people who want to create physical art rather than digital drawings.
Motion Graphics
Motion graphics combines graphic design with animation. This style focuses on moving text, shapes, logos, and icons rather than characters or storytelling. It is commonly used in video intros, commercials, and social media content.
Software like After Effects dominates this space, though simpler alternatives exist. Motion graphics is a great entry point for beginners interested in the technical side of animation without needing advanced drawing skills. You animate existing graphics rather than creating character performances.
The 12 Principles of Animation
Whether you pursue 2D, 3D, or stop-motion, these 12 principles established by Disney animators in the 1930s apply to all forms of animation. Understanding them separates amateur attempts from professional-quality movement.
Squash and Stretch gives weight and flexibility to objects. A bouncing ball flattens on impact (squash) and elongates as it rises (stretch). This principle makes movement feel alive rather than rigid.
Anticipation prepares viewers for an action. A character winds up before throwing a punch, or a cat crouches before pouncing. Without anticipation, movements feel sudden and disconnected.
Staging means presenting ideas clearly by controlling focus. Good staging directs viewer attention to what matters most in each frame, using lighting, composition, and camera angles strategically.
Straight Ahead Action and Pose to Pose are two approaches to creating animation. Straight ahead means drawing each frame in sequence from start to finish. Pose to pose means planning key positions first, then filling in the frames between them. Most animators combine both methods.
Follow Through and Overlapping Action make movement feel natural. When a character stops, parts of their body keep moving briefly (follow through). Different parts move at different rates during actions (overlapping action), like how hair lags behind head movement.
Slow In and Slow Out, also called easing, makes movement feel organic. Objects rarely start or stop instantly. Easing means spending more frames at the beginning and end of movements, with fewer frames in the middle.
Arc refers to the natural paths objects follow when moving. Thrown balls travel in arcs, and characters rarely move in perfectly straight lines. Adding arcs to movement makes it feel grounded in physical reality.
Secondary Action is movement that supports the main action. A character walking while talking, with their arms swinging naturally, uses secondary action. It adds richness without distracting from the primary movement.
Timing is the number of frames allotted to an action. Faster timing makes movements snappier and more energetic. Slower timing feels heavier and more deliberate. Getting timing right is one of the most important skills in animation.
Exaggeration pushes movements beyond realistic limits for effect. A surprised character might stretch their eyes wide open rather than just widening them slightly. Exaggeration communicates emotions and actions more clearly.
Solid Drawing means creating forms with proper volume, weight, and three-dimensionality. Even in 2D animation, characters should feel like they have mass and occupy space. This principle requires understanding anatomy, perspective, and basic drawing skills.
Appeal is making characters and designs interesting and engaging to watch. This does not mean everything must be cute. Appeal comes from good design, clear shapes, and movement that feels watchable and memorable.
How to Start Animation as a Beginner
Starting is often the hardest part. The forums are full of people who spent months researching software before drawing a single frame. Do not fall into that trap. Here is a practical roadmap for beginning your animation journey today.
Step 1: Pick One Type to Start
Choose the style that excites you most rather than the one you think is most practical. If you love Pixar films, try 3D. If you grew up watching cartoons, try 2D. If you enjoy physical crafts, try stop-motion. Enthusiasm carries you through the frustrating moments that come with any new skill.
You do not need to commit forever. Most animators explore multiple styles over time. Starting with one gives you focus and prevents the paralysis that comes from trying to learn everything at once.
Step 2: Start With Free Tools
The internet is full of free animation software that would have cost thousands of dollars twenty years ago. Before spending money on any program, try the free options first. If you discover you hate animation, you have lost nothing but time.
For 2D animation, Krita and OpenToonz are powerful free options. For 3D, Blender is unmatched at its price point. For stop-motion, you need only a camera and editing software you likely already own.
Step 3: Learn Keyframes and Timing First
Before worrying about drawing skills or complex software features, master the concept of keyframes. Set two poses, tell your software to hold them for a certain number of frames, and see how timing affects the feel of movement.
Try this simple exercise. Draw a ball in one position. Move it to a new position 12 frames later. Play it back. Now try the same movement in 6 frames instead. The same two positions feel completely different simply because of timing. This single concept unlocks more of animation than any other.
Step 4: Practice With Short Loops
Create tiny animations that loop seamlessly. A bouncing ball, a blinking eye, a walking character loop. These exercises teach timing, weight, and movement without the complexity of longer sequences.
Reddit communities focused on animation practice recommend starting with the bouncing ball exercise for a reason. It teaches squash and stretch, anticipation, and proper timing before you deal with character design or storytelling.
Step 5: Build a Simple Project
Once you can animate simple movements, challenge yourself with a short finished piece. It does not need to be impressive. A five-second loop of a character waving is enough. The process of completing something, even something small, teaches project management, rendering workflows, and the satisfaction of finishing work.
Animation Software for Beginners
Choosing software paralyzes many beginners. They spend weeks comparing features, watching reviews, and worrying they picked the wrong program. Here is the truth from people who have been through this: any software works. The difference between a beginner and a professional has nothing to do with which app they use.
That said, some tools are more beginner-friendly than others. Here is a breakdown of the best options at different price points.
Free Animation Software
Blender is a full 3D creation suite that rivals paid software costing thousands of dollars. It includes modeling, rigging, animation, rendering, and compositing tools. The learning curve is steep, but the Blender community has created countless tutorials that make the journey manageable. This is the best free option for anyone interested in 3D animation.
Krita started as a painting application but now includes powerful 2D animation capabilities. It handles frame-by-frame drawing well and includes onion skinning features that help you see previous frames while drawing new ones. Krita is excellent for hand-drawn 2D animation.
OpenToonz is the software behind Studio Ghibli productions. It is professional-grade 2D animation software that remains free. The interface feels dated compared to modern apps, but its capabilities are extensive.
Pivot Animator offers the simplest possible introduction to animation. You create stick figure animations using a pivot point system. It is extremely limited, but it teaches timing and movement without any complexity. Some animators still use it for quick ideas.
Paid Animation Software
Adobe Animate costs about $23 per month and provides professional 2D animation tools. It handles vector and raster graphics, includes lip-sync capabilities, and exports to many formats. If you subscribe to other Adobe products, Animate integrates smoothly.
Toon Boom Harmony is the industry standard for professional 2D animation studios. At around $500 for the cheapest version, it is a serious investment. However, it offers unmatched features for professional workflows. Many online courses teach specifically to Toon Boom.
Autodesk Maya is the professional standard for 3D film and game studios. Monthly subscriptions start around $185. Students can access it free for three years. If you dream of working in film studios, Maya skills are valuable.
Equipment You Need to Start Animation
You can begin animation with equipment you already own. A basic computer or laptop handles entry-level software, and many programs run smoothly on modest hardware. Here is what to consider as you progress.
Drawing Tablets
A drawing tablet lets you draw directly on a surface while seeing your strokes appear on screen. Standard options include the Wacom Intuos (around $70), which offers excellent pen pressure sensitivity at an affordable price. The Huion H610 Pro (around $60) provides similar features at a lower cost.
If budget is tight, start with a mouse. Many animators created their first animations without tablets. The pen grip and direct drawing feel different from mouse drawing, but the fundamentals of animation remain the same.
Computer Requirements
For 2D animation and motion graphics, most modern laptops handle basic work. Aim for at least 8GB of RAM and a decent processor. An SSD (solid-state drive) speeds up file access significantly compared to traditional hard drives.
For 3D animation, requirements increase substantially. Blender recommends at least 16GB of RAM, a processor with multiple cores, and a dedicated graphics card with at least 4GB of VRAM. A gaming laptop or desktop provides better value than a MacBook for 3D work at similar price points.
The Animation Workflow
Understanding how professional animators structure their work helps beginners avoid common pitfalls. Every project follows a similar pipeline, though smaller hobby projects compress or simplify certain stages.
Planning and Storyboarding
Every animation starts with an idea and a plan. Before drawing anything, professional animators create storyboards that sketch out each scene. This planning stage catches problems early when they are easy to fix. A shot that seems simple in your head often reveals issues when you sketch it out.
Blocking
The first animated version uses rough, simple shapes to test timing and movement. Animators call this blocking. They position objects at key poses and play back the sequence to see if it reads correctly before investing time in detail.
Splining and Refinement
Once blocking works, animators smooth out the movement using splining. The software adjusts curves to create fluid motion between keyframes. This stage adds the polish that makes movement feel natural and readable.
Rendering
After animation is complete, the software renders each frame into final images. Simple 2D animation renders quickly. Complex 3D scenes with lighting and effects can take hours per frame. Professional studios use render farms to handle this workload.
Common Mistakes to Avoid
Learning from others’ errors saves you months of frustration. Here are the most common mistakes beginners make when starting animation.
Skipping the fundamentals is the biggest error. Many beginners want to create impressive character animations immediately. Without understanding timing, spacing, and the 12 principles, their work looks amateurish regardless of how much time they invest. Study the basics before rushing into complex projects.
Animating too fast creates jittery, hard-to-watch movement. New animators often rush through frames, thinking more frames per second automatically means better animation. In reality, well-timed animation at lower frame rates looks better than poorly timed animation at high frame rates.
Ignoring reference material makes movements feel unrealistic. Professional animators constantly study real people and animals moving. They film themselves acting out poses they need to animate. Beginners who animate from imagination alone miss the subtle details that make movement convincing.
Perfectionism derails progress. Spending weeks on a single five-second clip while avoiding new challenges stunts growth. Accept that early work will look rough. Share it anyway. The feedback and experience matter more than polished results at this stage.
Comparing yourself to professionals who have spent decades perfecting their craft is unfair and discouraging. A beginner’s bouncing ball will never look like a Pixar short. That comparison helps no one. Measure your progress against your work from last month, not against studio productions.
Practice Project Ideas for Beginners
Community members on Reddit and animation forums consistently recommend starting with these exercises. They teach specific skills while remaining simple enough for complete beginners.
The bouncing ball is the classic first animation. A ball that rises, falls, squashes on impact, and stretches at the top of its arc teaches timing, weight, and the most fundamental principles. Start with one ball, then add a shadow to create depth.
The blinking eye is deceptively simple. The eye opens, blinks closed, and opens again. This exercise teaches anticipation (the lid moving before the blink) and subtle timing that makes the movement feel alive rather than mechanical.
A character walk cycle is a milestone project. A simple figure walks continuously, with arms and legs moving in opposition. This requires coordinating multiple body parts and understanding weight transfer. Most beginners find their first walk cycle looks robotic. That is normal and expected.
The anticipation exercise involves a character doing something simple, like picking up an object or sitting down. The trick is the preparation motion before the main action. Without that anticipation, the movement lacks weight and feel.
Paper and sticky note animation removes all software complexity. Draw on small cards, change the drawing slightly each time, and photograph or flip through them. This forces focus on timing and movement rather than tools. Reddit users report that this method helped them understand animation principles more clearly than any software.
FAQs
Can you do animation as a hobby?
Yes, absolutely. Animation is one of the most accessible creative hobbies available today. Free software like Blender and Krita provide professional-grade tools at no cost, and you can start with equipment you already own. Many animators began by flipping through hand-drawn sticky notes. Whether you want to create short loops for social media, experiment with stop-motion using household items, or eventually produce longer works, animation rewards curiosity and practice regardless of your background.
How to start animation as a beginner?
Start by choosing one animation type that interests you, whether 2D, 3D, or stop-motion. Download free software like Blender or Krita, and begin experimenting with keyframes and timing using simple shapes. Practice with short loops like bouncing balls before attempting complex character animation. Join communities like those on Reddit to share work and get feedback.
Is animation hard to learn?
Animation has a learning curve like any skill, but it is not impossibly difficult. The fundamentals of timing and movement are accessible to beginners. What takes years to master is the refinement and artistry, not the basic mechanics. Anyone willing to practice consistently can create enjoyable animation within months.
Do I need to know how to draw for animation?
Drawing skills help but are not mandatory. You can create effective animation using simple shapes and stick figures while developing drawing abilities. Many successful animators improved their drawing skills alongside their animation skills. Start animating with what you can draw now, and your artistic abilities will grow with practice.
What is the best animation software for beginners?
Blender is the best free option for 3D animation, offering professional-grade tools and extensive tutorials. For 2D animation, Krita provides excellent drawing and animation capabilities at no cost. Both have large communities that support beginners through the learning process.
Conclusion
Starting animation as a hobby comes down to one thing: actually beginning. The research, the software comparisons, the equipment reviews all matter less than the willingness to draw frame after frame and learn from what does not work. I spent too long preparing instead of creating, and the best decision I made was finally putting pencil to paper and animating my first bouncing ball.
The tools available now would have seemed like science fiction twenty years ago. Free software can create results that studios spent millions to achieve in previous decades. Whether you want to create social media content, short films, or simply bring drawings to life for your own enjoyment, the path starts with your first keyframe.
Pick a type. Download free software. Animate something terrible and share it anyway. That is how every animator you admire started. The only difference between you and them is time spent practicing, not talent or equipment.