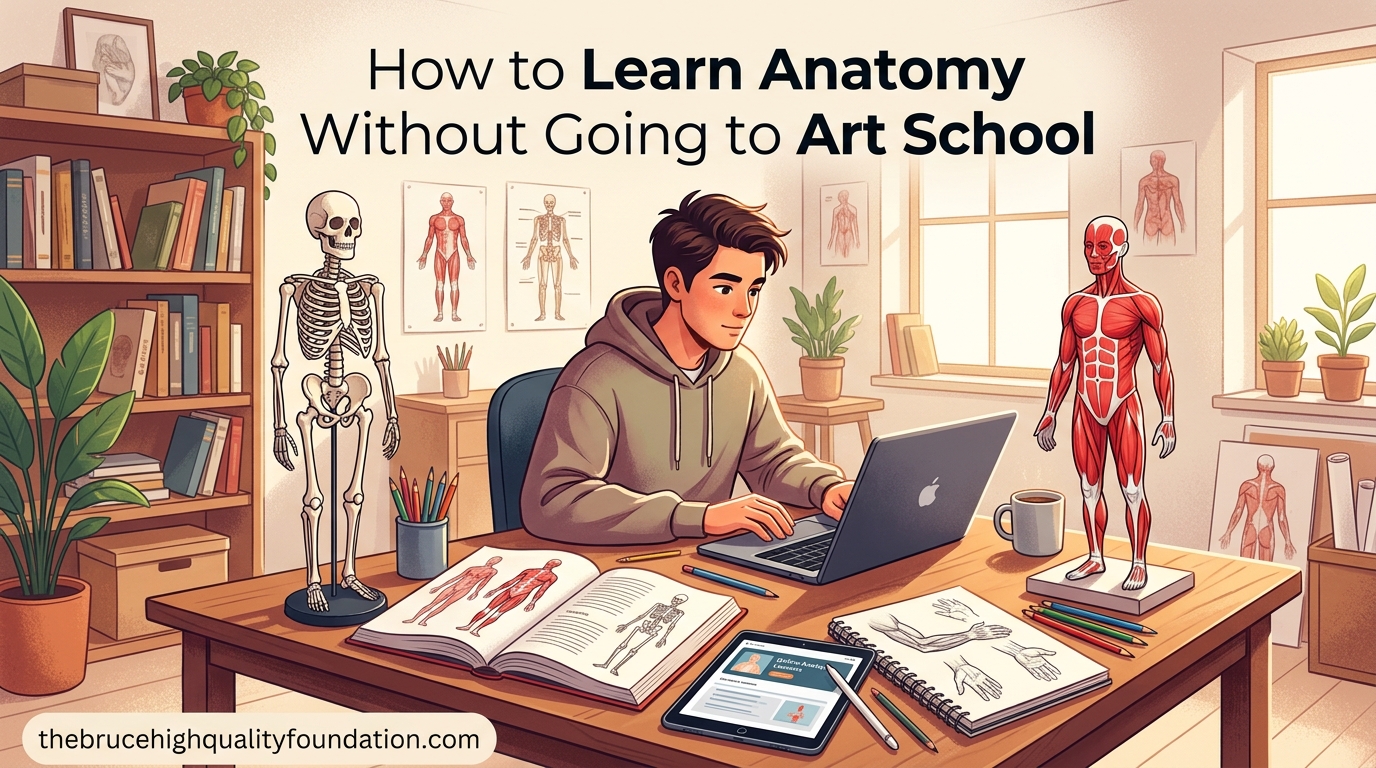
You can absolutely learn anatomy without going to art school. I have been drawing for over a decade, and the artists I admire most never set foot in a formal classroom. What they did have was a clear plan, the right resources, and the discipline to practice consistently. That is exactly what this guide gives you.
If you want to learn anatomy without art school, you need three things: a structured learning path that builds skills in the right order, curated resources that fit your budget, and a practice routine you can actually stick to. Below I walk you through every step, from your first cylinder sketch to drawing full figures from imagination. Every method here is pulled from working artists, community-tested strategies from places like the r/ArtistLounge community on Reddit, and my own trial and error over years of self-directed study.
Whether you are aiming for character design, concept art, manga, or realistic figure drawing, this roadmap works for all of them. The principles do not change. What changes is how deeply you choose to go. Let me show you how to get started the right way.
Table of Contents
Why Anatomy Matters for Self-Taught Artists
Anatomy is what separates artists who can draw anything from artists who can only copy what they see. When you understand how the body is built, you can draw figures from any angle, in any pose, under any lighting condition. You stop guessing and start knowing.
Think about it this way. If you want to draw a character raising their arm overhead, you need to know how the shoulder girdle moves, which muscles stretch and which compress, and how the rib cage tilts. Without that knowledge, you are just making marks and hoping they look right. With it, you can construct the pose with confidence.
Anatomy knowledge also speeds up your learning across every other art skill. Your gesture drawings become more accurate. Your portraits gain structural solidity. Your character designs feel more alive because the bodies underneath them make physical sense. It is one of the highest-leverage skills you can develop as an artist, and you do not need a single tuition payment to do it.
How to Learn Anatomy Without Going to Art School: A 5-Step Path
Here is the method I recommend after testing dozens of approaches. It is the same progression that self-taught artists on Reddit and professional concept artists agree on. Follow these five steps in order and you will build a solid anatomical foundation without ever enrolling in a class.
Step 1: Master Basic 3D Shapes First
Before you touch a single bone diagram or muscle chart, you need to be comfortable drawing simple 3D forms in perspective. I am talking about cylinders, cubes, and spheres. These are the building blocks of every figure drawing method out there.
Practice drawing each shape from different angles. Then practice deforming them. Stretch a sphere into an egg. Compress a cylinder. Twist a box. When you can draw these forms confidently from any viewpoint, you have the visual vocabulary to construct a human body from scratch.
Here is a quick exercise I used when I started. Spend 15 minutes a day drawing simple 3D shapes at different angles. After a week, try combining them. Stack a sphere on a cylinder. Put a wedge shape next to a box. This is the exact same thinking process you will use to build a rib cage, attach an arm, or construct a head.
Step 2: Learn the Skeletal Framework
Bones are the scaffold everything else hangs on. You do not need to memorize all 206 bones in the human body. You need to know the major structures that affect the visible surface of the figure.
Focus on these areas first: the skull, the rib cage and spine, the pelvis, and the major limb bones (femur, humerus, radius, ulna, tibia, fibula). Learn the bony landmarks that show through the skin. These are your anchor points. The clavicle, the greater trochanter of the femur, the elbow, the knee, the scapula. When you can place these landmarks accurately, your figures will feel grounded and real.
A practical approach is to draw a simplified skeleton from memory, then check it against a reference. Do this for the full body, then zoom into problem areas. The torso skeleton is usually the hardest, so spend extra time on the rib cage and pelvis relationship.
Step 3: Layer Muscles on Top of Bones
Once you know where the bones go, start adding muscles one group at a time. This is where artistic anatomy diverges from medical anatomy. You are not studying for a physiology exam. You are learning which muscles create visible shapes on the surface of the body.
Begin with the big muscle groups: the deltoids, pectorals, latissimus dorsi, abdominals, quadriceps, and gluteals. Learn where they attach to the bones you already studied. Then learn how they change shape when they contract versus when they relax.
I found the most effective exercise is exactly what the instructors at Love Life Drawing recommend. Start by drawing the bones, then add each muscle on top one at a time. This layer-by-layer approach forces you to think in 3D and builds genuine structural understanding rather than surface memorization.
Step 4: Practice Gesture Drawing Daily
Anatomy without movement is just a statue. Gesture drawing trains you to capture the energy and proportion of a pose quickly. It bridges the gap between your anatomical knowledge and your ability to draw fluid, dynamic figures.
Start with 30-second gesture poses using a site like Line of Action or Croquis Cafe. Focus on the action line of the pose, the major proportions, and the weight distribution. Do not worry about muscles or details. Speed forces you to see the big picture.
As you get comfortable with short poses, increase your time. Move to 2-minute, then 5-minute, then 10-minute poses. At longer durations, start applying your anatomy knowledge. Place the major muscle groups. Refine the bony landmarks. Gesture drawing is where everything you studied in steps 1 through 3 starts coming together in real-time practice.
Step 5: Draw From Imagination and Correct With Reference
This is the final test of your anatomy knowledge. Try drawing a figure from your head, without any reference. Then pull up a photo or 3D model and compare. Where did you place the joints wrong? Which muscles did you forget or misplace? What proportions are off?
This correction loop is where real learning happens. Each time you do it, you are strengthening the neural pathways that let you draw accurately from memory. Over weeks and months, the gap between your imagined drawing and the reference shrinks. That gap-closing process is how you build the ability to draw convincing anatomy without a reference in front of you.
I do this exercise at least three times a week. I pick a random pose from my head, draw it in 5 minutes, then spend 10 minutes checking and correcting. The mistakes I make are the most valuable part, because they tell me exactly what to study next.
The Best Resources to Learn Anatomy on Your Own
There is no shortage of anatomy resources out there. The problem most beginners face is not finding them. It is choosing the right ones and avoiding the overwhelm. Here is a curated breakdown of what I consider the most effective options, organized by price point.
Free Anatomy Resources for Artists
You can build a strong anatomical foundation without spending a single dollar. Here are the free resources I recommend:
Proko YouTube Channel – Stan Prokopenko’s anatomy series is one of the most comprehensive free anatomy courses available. His bone and muscle videos break down each body part with clear explanations and demonstrations. Start with his “Figure Drawing Basics” playlist before moving into the anatomy-specific content.
Line of Action – This free tool gives you timed gesture drawing practice with a massive library of reference photos. You can set timers from 30 seconds to 10 minutes and practice with clothed, nude, and animal references. It is an essential daily practice tool.
Love Life Drawing – Their YouTube channel and website offer structured anatomy lessons specifically designed for self-taught artists. Their “5 Dos and Don’ts of Learning Anatomy” video alone is worth watching multiple times.
Anatomy360.org and Sketchfab – Both platforms offer free 3D anatomy models you can rotate and study from any angle. This is incredibly valuable for understanding how forms wrap around the body in three dimensions.
Pinterest Reference Boards – Build curated boards of anatomical reference images, muscle charts, and skeleton diagrams. Organizing your own collection forces you to engage with the material more deeply than bookmarking ever will.
Paid Courses and Books Worth the Investment
When you are ready to invest in your learning, these resources deliver real value:
Andrew Loomis Books (“Figure Drawing for All It’s Worth” and “Drawing the Head and Hands”) – These are classic texts that have taught generations of artists. Loomis breaks down proportion and construction into clear, repeatable systems. Some editions are available as free PDFs online.
Michael Hampton’s “Figure Drawing: Design and Invention” – This book is widely considered one of the best anatomy resources for artists. Hampton teaches a constructive approach that focuses on building the figure from simple forms rather than copying surface details.
The Morpho Series by Michel Lauricella – These small, affordable pocket-sized books cover specific body areas with a focus on simplified, drawable forms. They are great for quick reference during practice sessions.
Proko Premium Anatomy Course – If you want the full structured experience with assignments and critique opportunities, Proko’s paid anatomy course goes deeper than the free YouTube videos and includes practice assignments.
Free vs Paid: Which Should You Choose?
Start with free resources. Use Proko’s YouTube channel and Line of Action for at least a month. Once you know your learning style and which areas you struggle with most, invest in the paid resource that targets those specific gaps. There is no point buying a full course before you know what you actually need.
Building a Consistent Anatomy Practice Routine
The single biggest challenge self-taught artists face is not finding resources. It is building a practice habit that lasts. Without the structure of a class schedule and the accountability of an instructor, it is easy to drift. Here is how I solved that problem.
First, commit to a minimum daily practice session, not a maximum. I started with just 20 minutes a day, five days a week. That is manageable. The goal is consistency, not marathon sessions that lead to burnout. Here is a sample weekly schedule that balances all the skills you need:
Monday: 10 minutes of 3D shape warmups, followed by 15 minutes of skeletal drawing from memory.
Tuesday: 15 minutes of gesture drawing (30-second and 2-minute poses), followed by 10 minutes of muscle study on one body part.
Wednesday: 10 minutes of proportion exercises, followed by 15 minutes of drawing figures from imagination and checking with reference.
Thursday: Repeat Tuesday’s structure with a different body part for muscle study.
Friday: Full figure drawing session. Apply everything you practiced during the week into one or two longer studies.
Second, track your progress. Keep a dedicated anatomy sketchbook. Date every page. Every two weeks, flip back and compare your recent work to where you started. The progress is gradual enough that you will not notice it day to day, but when you compare across weeks, the improvement is obvious and motivating.
Third, find a community. Post your work on Reddit communities like r/learnart or r/learntodraw. Join a Discord server for figure drawing. Share your weekly studies on social media. Accountability from other artists who are on the same path makes a huge difference in staying motivated when progress feels slow.
Common Anatomy Mistakes Beginners Make (and How to Avoid Them)
I made every one of these mistakes when I started. Learning about them early can save you months of frustration.
1. Skipping the basics and copying surface details. Drawing what you see on the surface without understanding the structure underneath means you can only draw that specific pose from that specific angle. Build from the inside out instead.
2. Memorizing muscle names without understanding function. Knowing that the biceps femoris exists is useless if you do not know how it bends the knee. Study how muscles work, not just what they look like.
3. Ignoring proportion and jumping straight to detail. A beautifully rendered arm attached to a torso with wrong proportions still looks wrong. Nail the big proportions first, always.
4. Only drawing from reference, never from imagination. Reference is a tool, not a crutch. If you never test yourself by drawing from memory, you never discover what you actually know versus what you think you know.
5. Studying medical anatomy instead of artistic anatomy. Medical textbooks show you every layer of tissue. You only need to know the structures that affect the visible surface of the body. Focus on surface anatomy and artistic anatomy resources, not Gray’s Anatomy.
How Long Does It Take to Learn Anatomy for Drawing?
Let me be honest with you. Learning anatomy is not a weekend project. Russian art university programs dedicate two full years to anatomy study alone, plus another four years applying that knowledge in practice. You are not going to match that depth in a few months of casual practice.
That said, you do not need that level of mastery to see dramatic improvement. Here are realistic milestones for a self-taught artist practicing 20 to 30 minutes a day:
After 1 month: You can construct a basic figure using simple 3D shapes and place major bony landmarks with reasonable accuracy.
After 3 to 6 months: You can identify and draw the major muscle groups on a figure. Your gesture drawings show solid proportion and movement.
After 1 to 2 years: You can draw figures from imagination at various angles and correct your own mistakes. Your anatomical knowledge supports your art rather than limiting it.
The artists who succeed are not the ones who study the hardest for two weeks and quit. They are the ones who practice modestly but consistently over months and years. Pace yourself, and the results will come.
FAQs
How can I learn anatomy on my own?
Start with basic 3D shapes (cylinders, cubes, spheres), then study the major bones and bony landmarks. Layer muscles on top of the skeleton one group at a time. Practice gesture drawing daily using free tools like Line of Action, and test yourself by drawing from imagination then correcting with reference. You need a structured progression, consistent daily practice of 20 to 30 minutes, and the right free resources like Proko’s YouTube channel and Love Life Drawing.
What is the best way to learn anatomy for drawing?
The most effective method is a layered approach: first master drawing basic 3D shapes in perspective, then learn the skeletal framework focusing on surface landmarks, then add major muscle groups on top. Combine this with daily gesture drawing practice and regular imagination-to-reference correction exercises. This approach builds structural understanding rather than surface copying, which is what allows you to draw convincing figures from any angle.
How to study anatomy for art without formal education?
Use free resources like Proko’s YouTube anatomy series, Line of Action for gesture practice, and Love Life Drawing for structured lessons. Study from books like Michael Hampton’s Figure Drawing: Design and Invention. Follow a consistent weekly schedule that covers shapes, skeleton, muscles, gesture, and imagination practice. Track your progress in a dedicated anatomy sketchbook and share your work in online communities like r/learnart for feedback and accountability.
How long does it take to learn anatomy for drawing?
With consistent daily practice of 20 to 30 minutes, expect basic competence in constructing figures from 3D shapes within 1 month. After 3 to 6 months, you should be able to identify and draw major muscle groups accurately. Reaching an intermediate level where you can draw from imagination and self-correct typically takes 1 to 2 years. Full mastery takes many years, but dramatic improvement happens within the first 6 months for most dedicated self-taught artists.
What are the best free resources to learn anatomy for art?
The top free resources are Proko’s YouTube anatomy series for structured video lessons, Line of Action for timed gesture drawing practice, Love Life Drawing for anatomy methodology, Anatomy360.org and Sketchfab for free 3D anatomy models, and Pinterest for building curated reference boards. Start with Proko and Line of Action since together they cover both the knowledge and the practice you need.
Start Your Anatomy Journey Today
Learning anatomy without going to art school comes down to a simple formula: master 3D shapes, study bones, layer muscles, practice gestures, and test yourself from imagination. You now have the exact steps, the best free and paid resources, a weekly practice schedule, and realistic timelines. The only thing left is to pick up your pencil and start with step one. Draw a cylinder. Then draw another one. That is how every great artist began, and that is where your journey starts too.