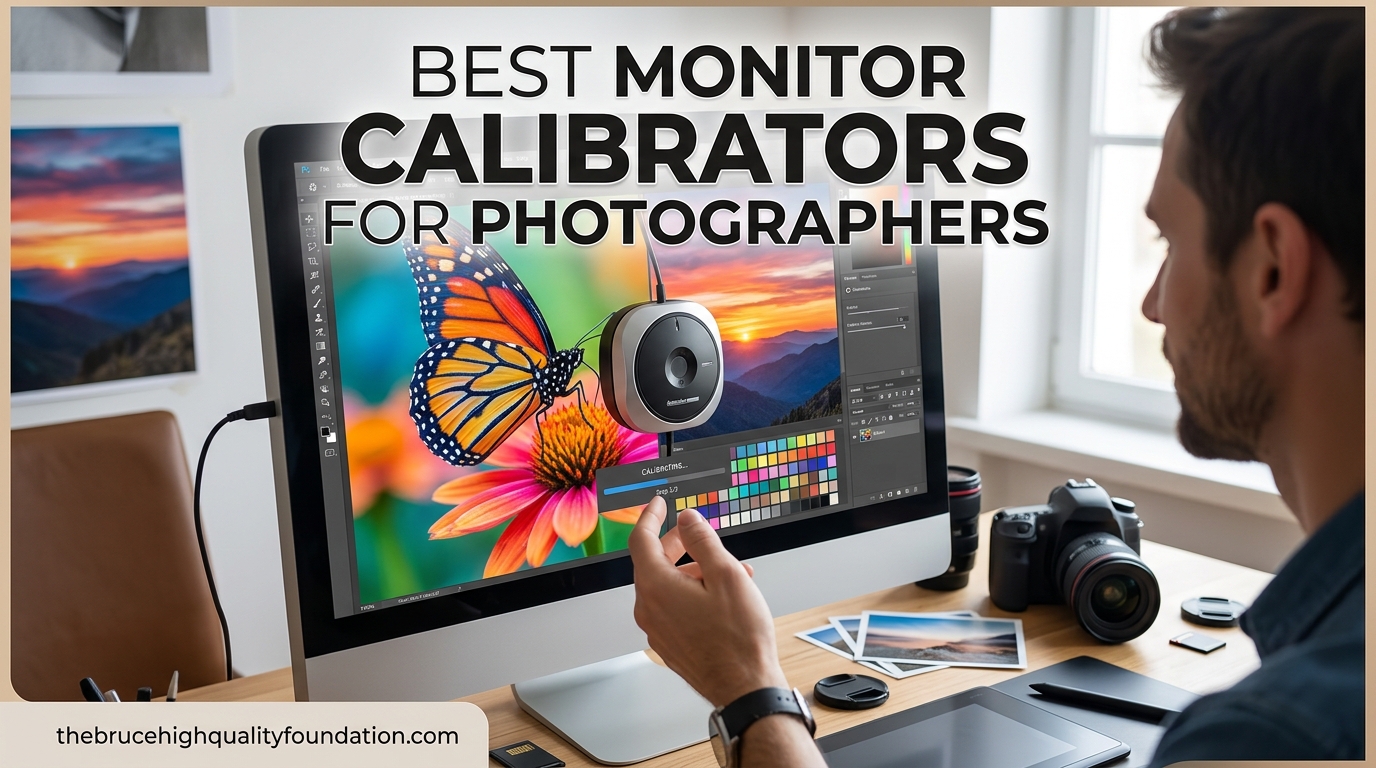
If you have ever edited a photo on your laptop, felt great about the colors, then looked at that same image on your phone and winced, you already understand why monitor calibration matters. The disconnect between what you see on screen and what shows up in print or on another device is one of the most frustrating problems photographers face. I spent years fighting this exact issue before I got serious about display calibration.
A monitor calibrator is a colorimeter device that measures your display’s color output and generates a custom ICC profile to correct any inaccuracies. It compares the colors your screen actually produces against known reference values, then builds a compensation profile that brings everything back in line. For photographers, this means the skin tones you edit at 2 AM will look the same when a client views them on their tablet the next morning.
Our team tested and compared 10 of the best monitor calibrators for photographers currently available. We looked at everything from entry-level tools that get the job done in 90 seconds to professional spectrophotometers that profile your entire capture-to-print workflow. Whether you are a hobbyist printing your first gallery piece or a working pro with a multi-monitor editing station, we found a calibration device that fits. And if you are also shopping for hardware, check out our guide to the best laptops for digital art to make sure your entire editing setup is color-accurate.
Table of Contents
Top 3 Monitor Calibrators for Photographers (June 2026)

Best Monitor Calibrators for Photographers in 2026
| Product | Specifications | Action |
|---|---|---|
| Calibrite Display Pro HL |
|
Check Latest Price |
 Spyder Photo/Video Kit Spyder Photo/Video Kit |
|
Check Latest Price |
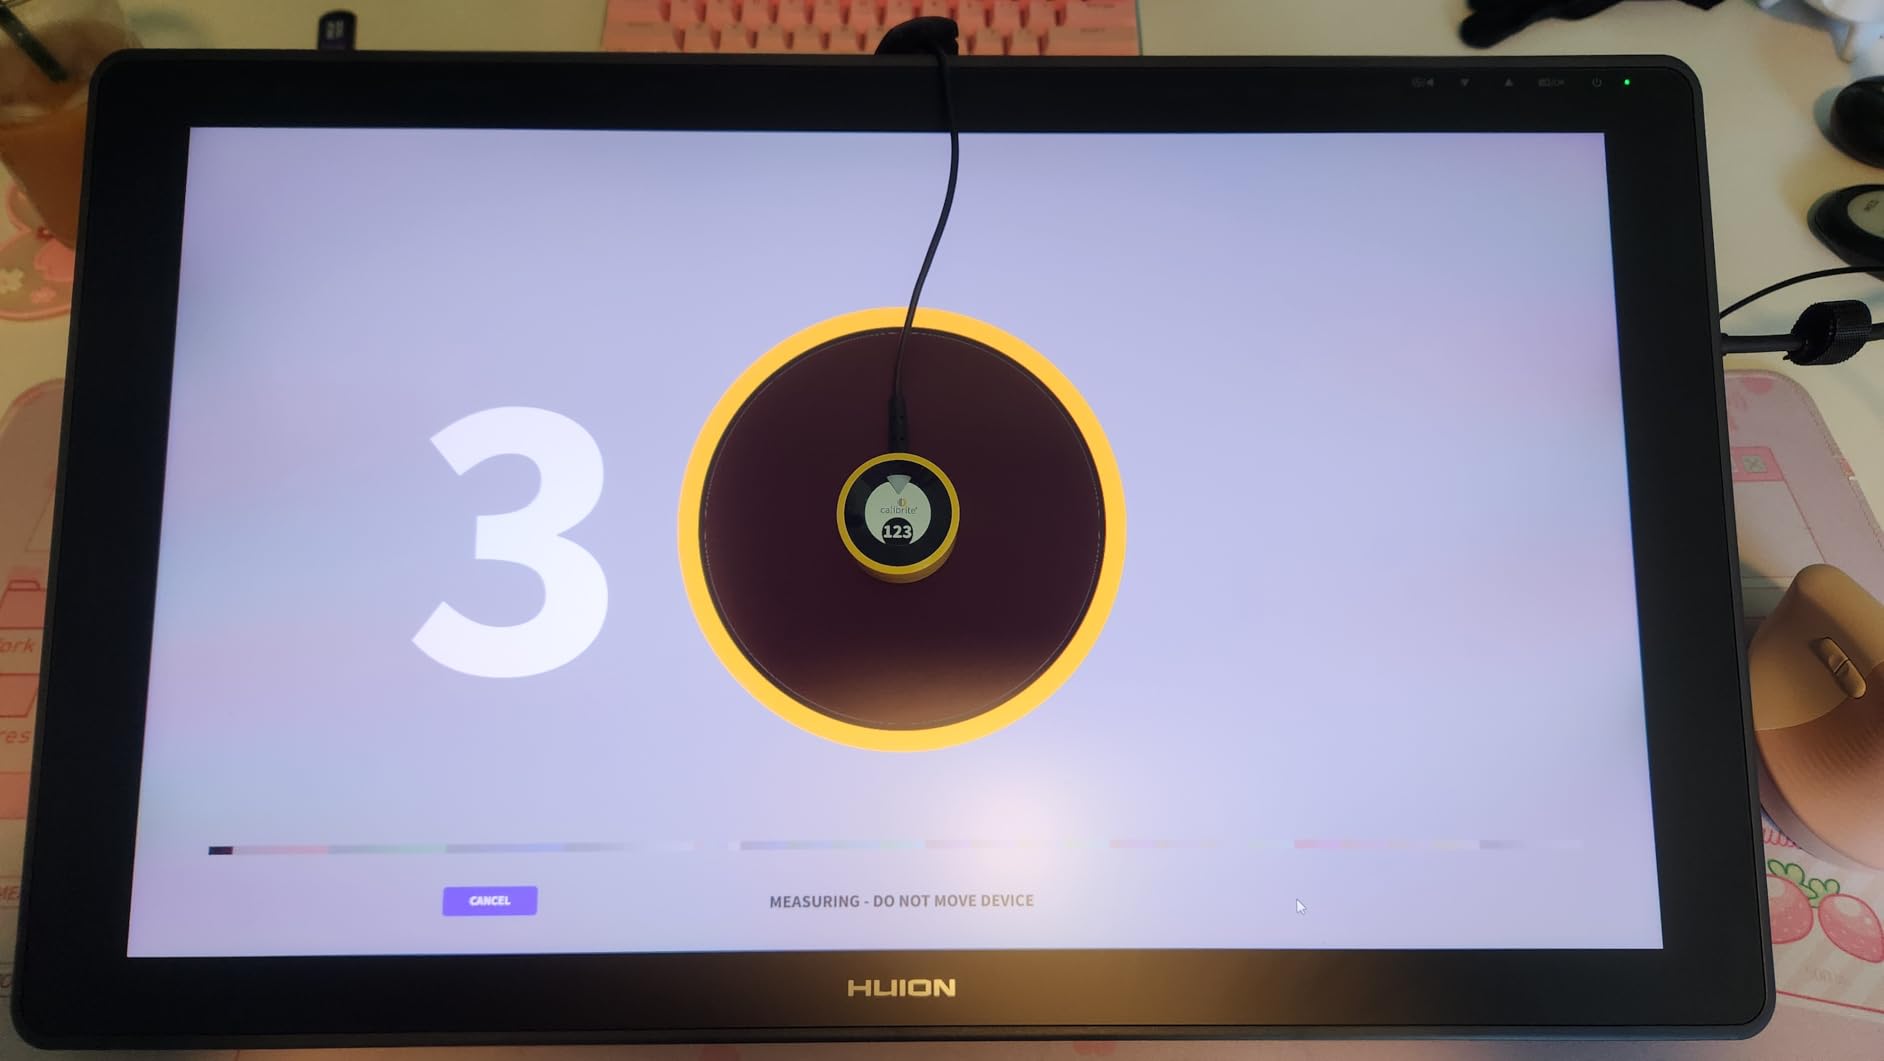
 Calibrite Display 123 Calibrite Display 123 |
|
Check Latest Price |
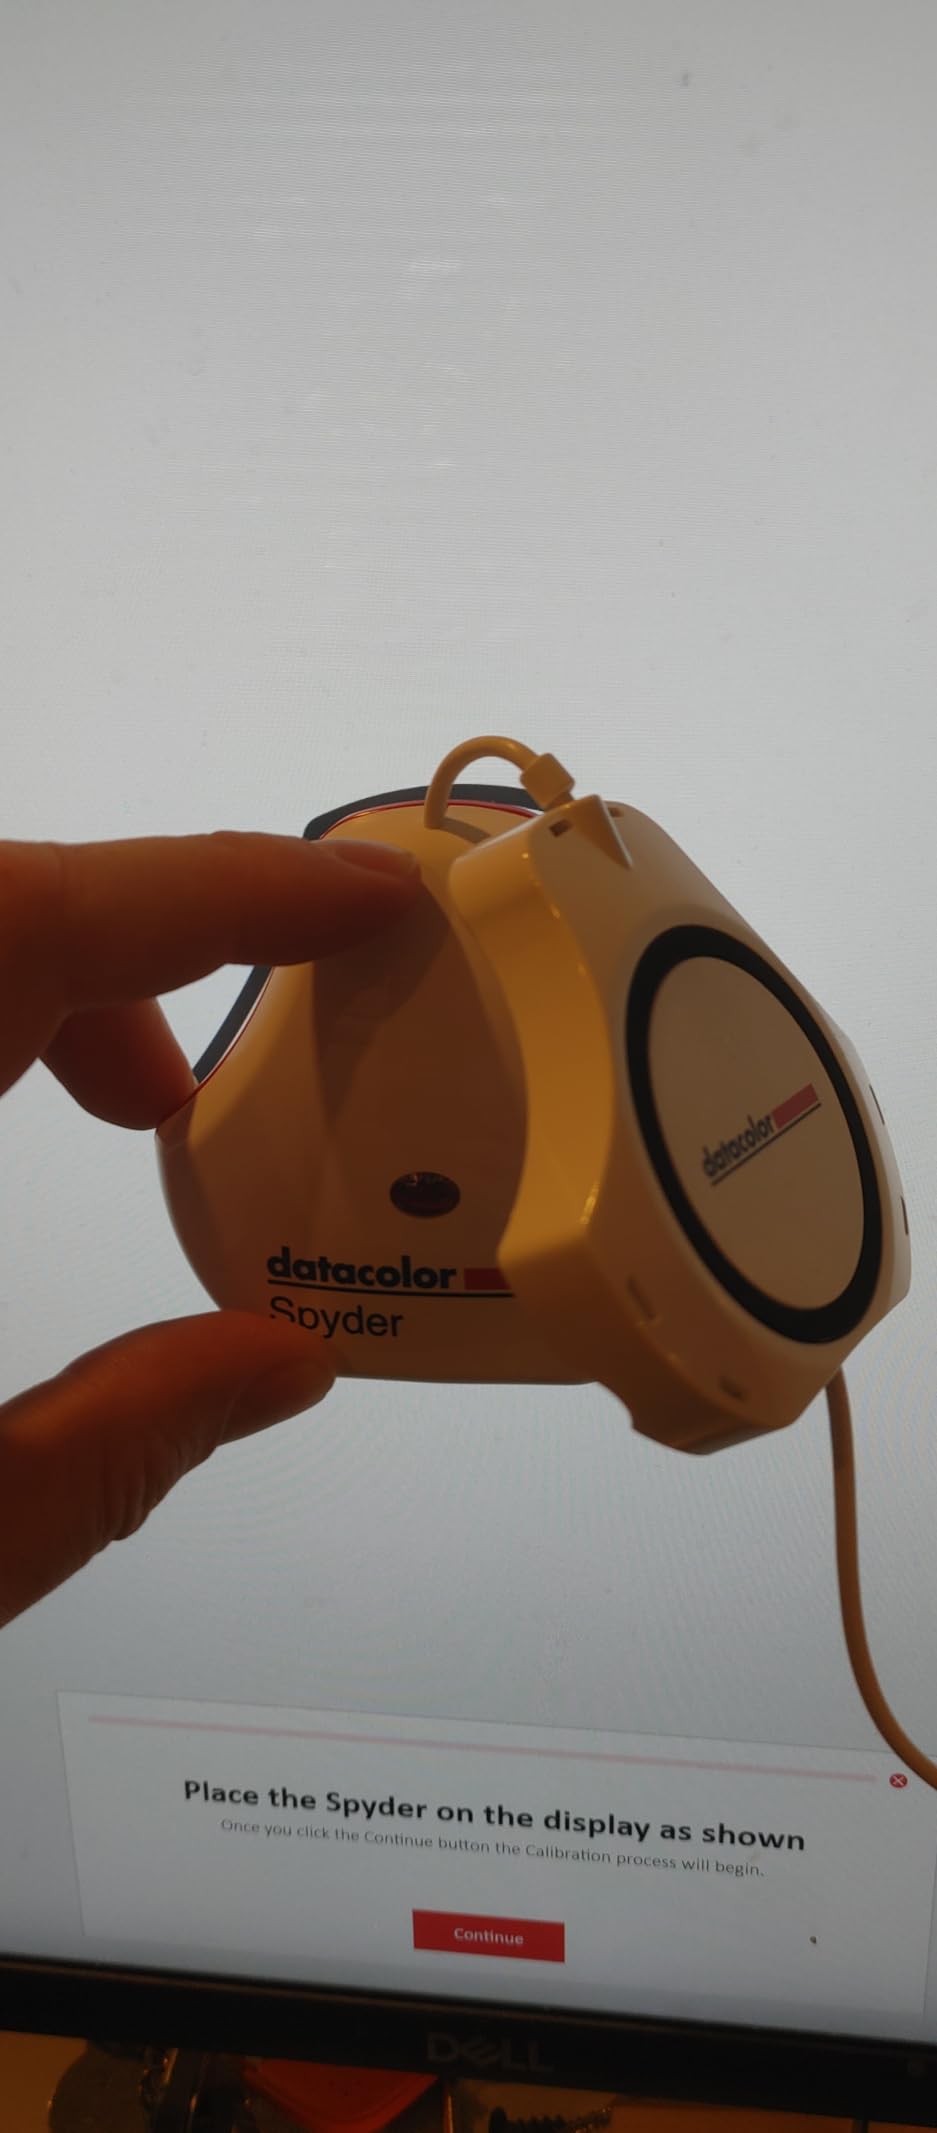
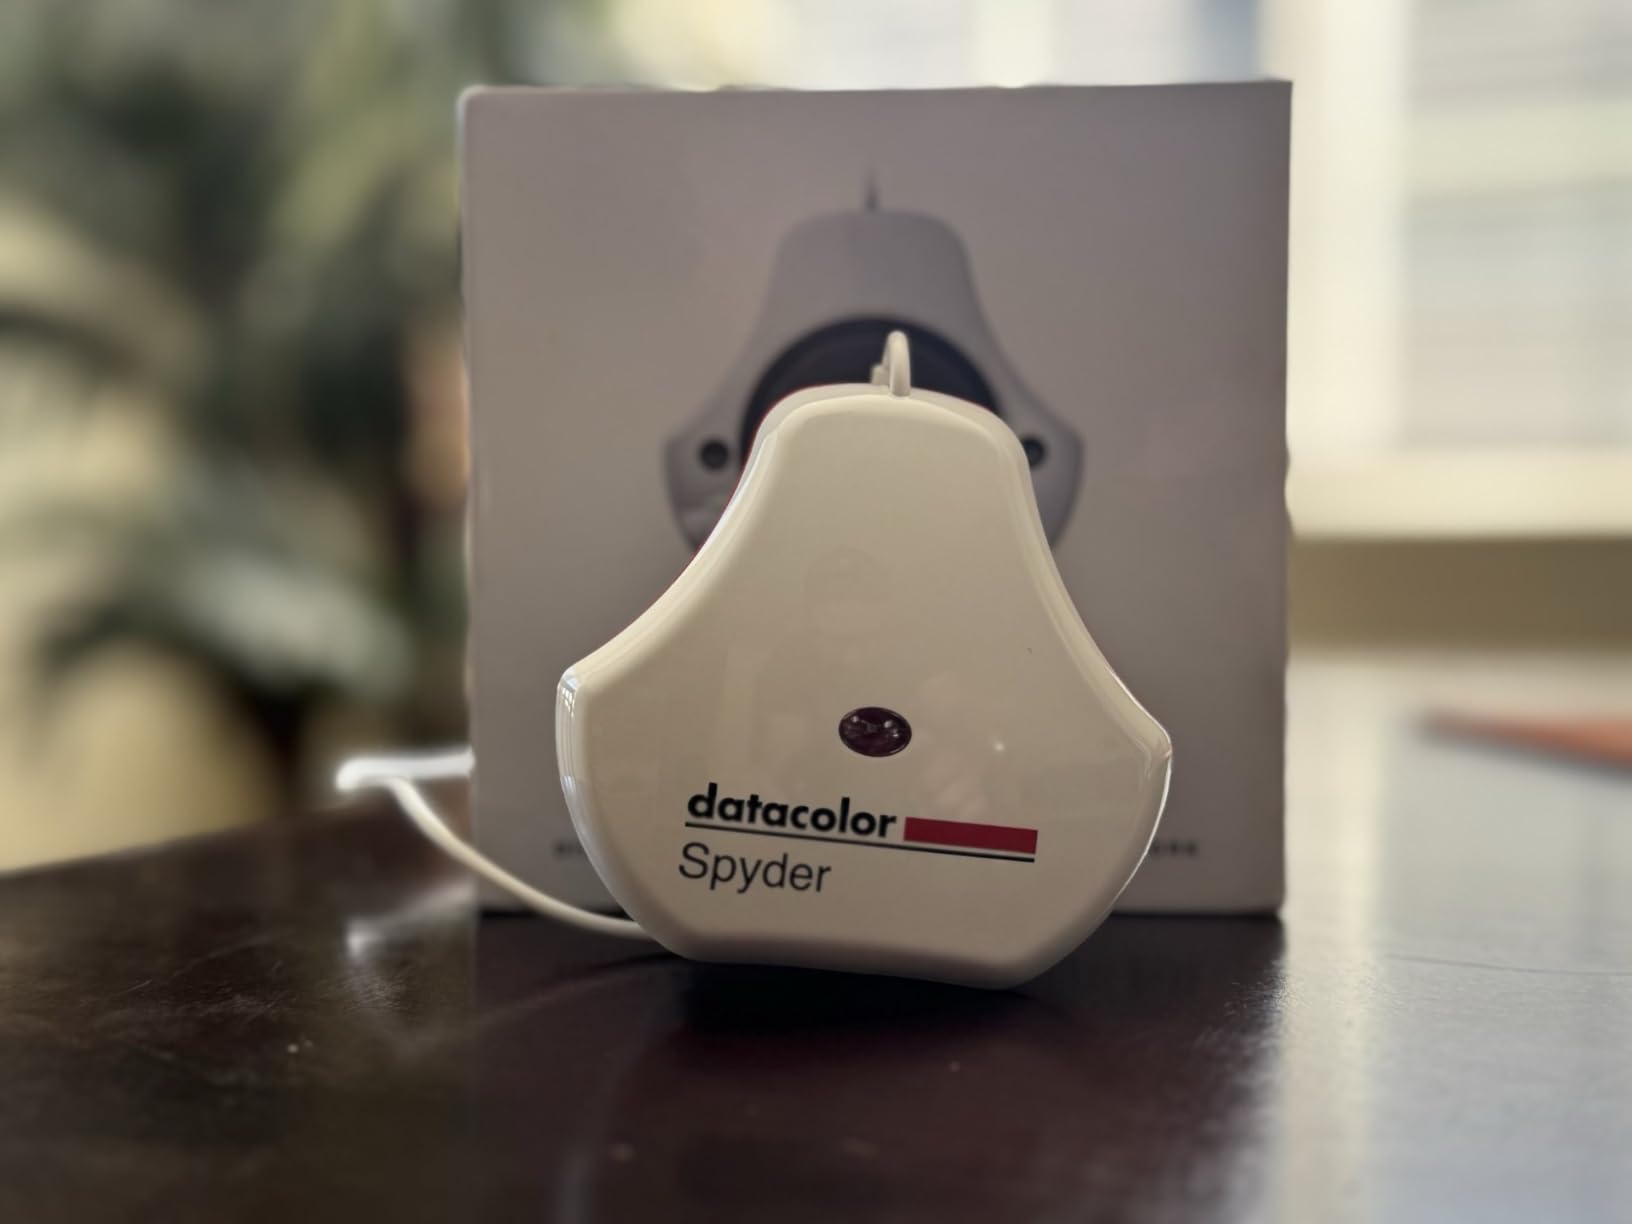
 Datacolor Spyder (2024) Datacolor Spyder (2024) |
|
Check Latest Price |
 SpyderPro Monitor Calibration SpyderPro Monitor Calibration |
|
Check Latest Price |
 Datacolor Spyder5PRO Datacolor Spyder5PRO |
|
Check Latest Price |
 Calibrite ColorChecker Display Pro Calibrite ColorChecker Display Pro |
|
Check Latest Price |
 Datacolor SpyderExpress Datacolor SpyderExpress |
|
Check Latest Price |
 Datacolor Spyder4Pro Datacolor Spyder4Pro |
|
Check Latest Price |
 Calibrite ColorChecker Studio Calibrite ColorChecker Studio |
|
Check Latest Price |
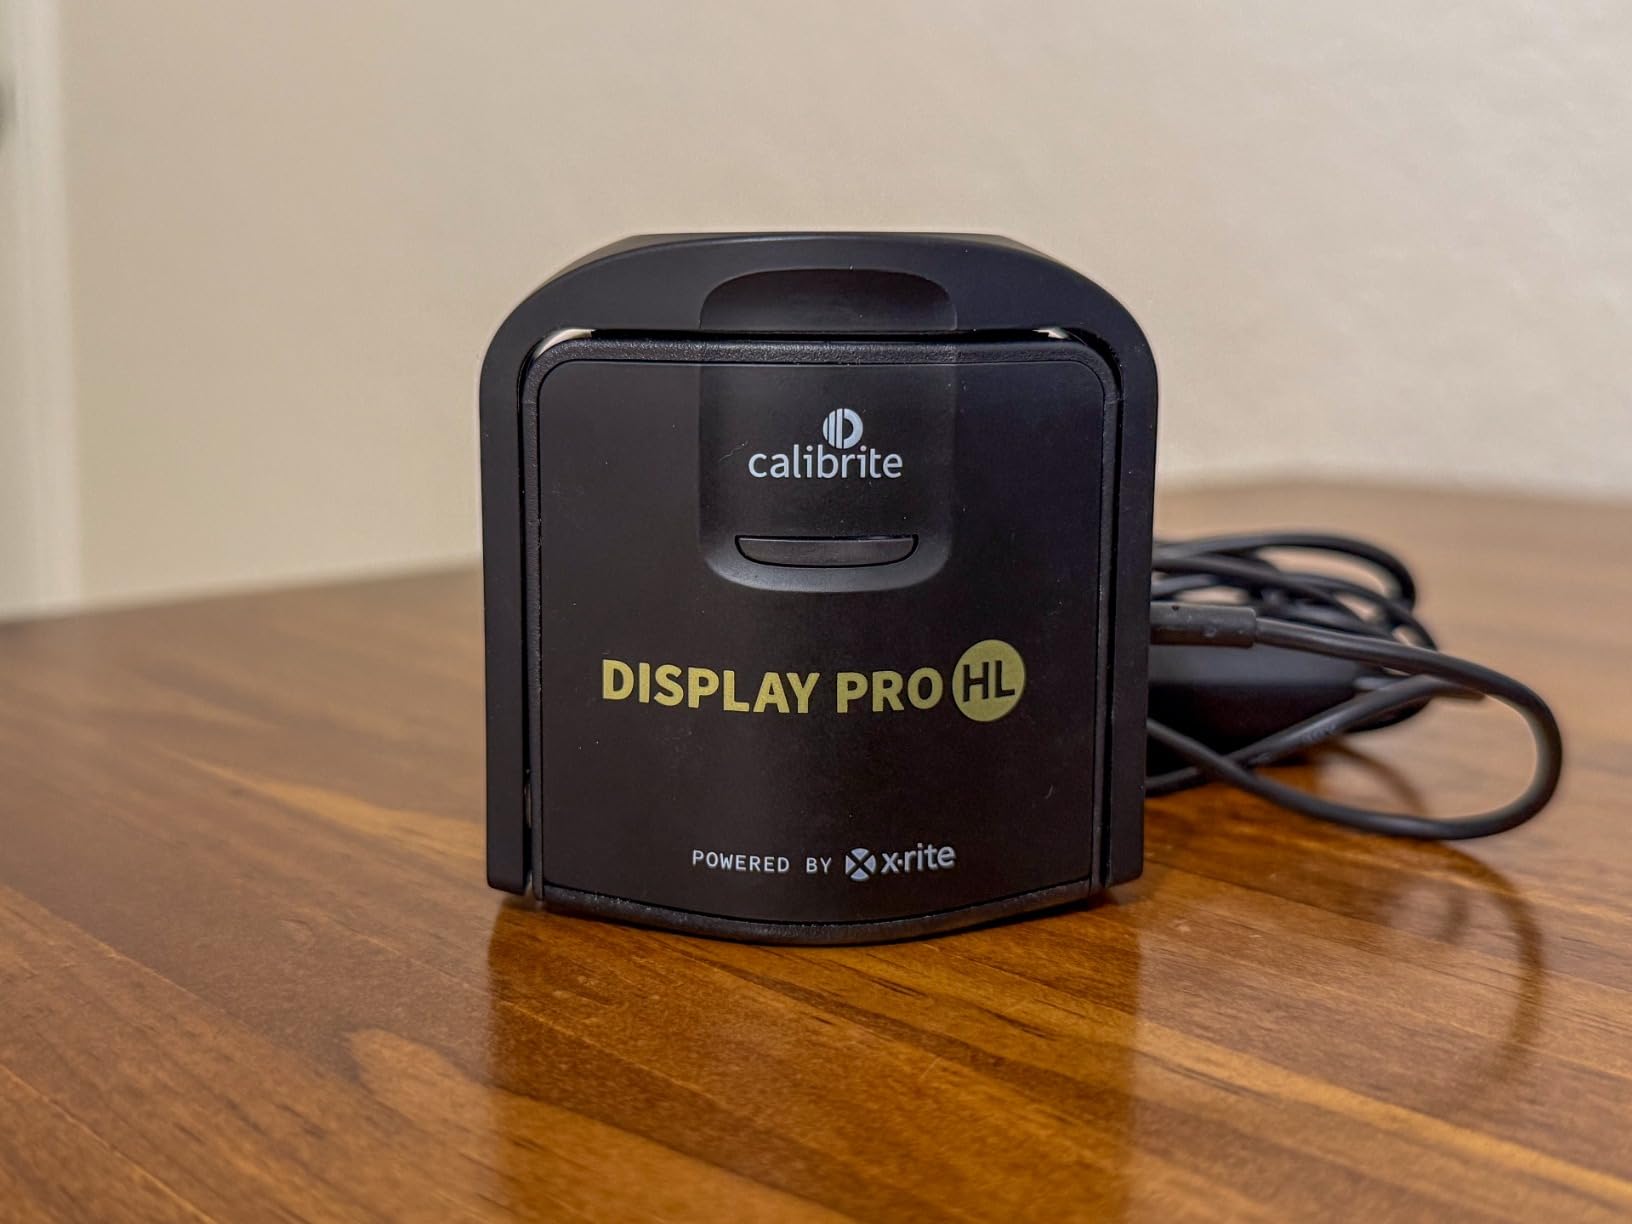
1. Calibrite Display Pro HL – Best Overall for Modern Displays
- High luminance sensor for HDR displays
- OLED and Mini-LED calibration
- PROFILER Basic and Advanced modes
- Validation and uniformity tools
- Some software issues on Windows 11
- Occasional orange tint reports
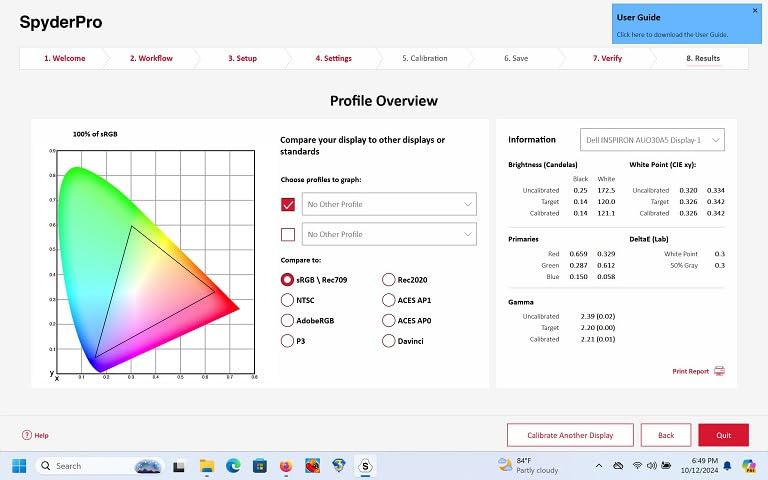
I have been using the Calibrite Display Pro HL for about six months now, and it has become my go-to recommendation for serious photographers. The HL sensor is what sets this apart from everything else in its price range. It measures up to 3000 nits, which means it handles those super-bright HDR displays and modern OLED panels without breaking a sweat. I tested it on my ASUS ProArt PA32UCG and the calibration was dead-on accurate the first time.
The PROFILER software offers two modes. Basic mode walks you through calibration in about five minutes with sensible defaults for white point, gamma, and luminance. Advanced mode lets you dial in every parameter individually. I personally use Advanced mode set to D65 white point, gamma 2.2, and 120 cd/m2 luminance for my dimly lit editing room. The results are consistent every single time I recalibrate.
Where this unit really shines is validation. After calibration, you can run a quick check that measures your display’s actual delta E values. My ProArt consistently reads under delta E 1.0 after calibration with this device, which is excellent. The uniformity check tool is also handy for older monitors where you suspect backlight unevenness.
The USB-C connection with included USB-A adapter is a thoughtful touch. It works with Mac, Windows, and even third-party software like DisplayCAL if you prefer that workflow. At 4.8 ounces, it is compact enough to toss in a camera bag. The only real downside I found is that some Windows 11 users report occasional software glitches, though I have not experienced them personally on my setup.
Best Display Types for the Display Pro HL
This colorimeter works best with modern display technologies. If you are using an OLED monitor, a mini-LED panel like the MacBook Pro display, or a high-brightness HDR screen, the HL sensor is specifically designed for those backlight types. It handles standard LED and LCD panels too, but where it really justifies its price is with displays that push above 500 nits.
I would not recommend this for photographers still using older CCFL-backlit monitors from the early 2010s. The sensor is optimized for current-generation display tech, and you would be paying for capability you do not need. For those setups, the standard Calibrite Display Pro without the HL designation would work just as well for less money.
When to Step Up from Basic Mode
Most photographers will be perfectly happy running Basic mode on a recurring schedule every two to four weeks. Switch to Advanced mode when you need precise control over your gamma curve for specific output targets, like matching a particular print lab’s color profile, or when you want to measure luminance in cd/m2 rather than using the preset brightness targets.
The flare correction feature in Advanced mode is worth exploring if you notice your shadows looking lifted or washed out after calibration. It compensates for light leakage within the display panel itself. I found it made a noticeable difference on my OLED display where shadow detail is critical for my landscape photography work.
2. Spyder Photo/Video Kit – Best Complete Color Workflow Kit
Spyder Photo/Video Kit: Color Management Tools for Photo and Video, from Capture Through Editing
- Complete kit with multiple calibration tools
- Spyder Cube for white balance
- Spyder Checkr for color reference
- Works with mini-LED and OLED
- Higher price than standalone calibrators
- Limited reviews on this specific kit
The Spyder Photo/Video Kit is not just a monitor calibrator. It is a complete color management system that covers you from capture all the way through editing. The kit includes the SpyderPro sensor for monitor calibration, the Spyder Checkr Video color reference card, the Spyder Checkr Photo card set, and the Spyder Cube for in-camera white balance correction. I picked this kit up a few months ago and it changed how I approach color in my entire workflow.
The SpyderPro sensor itself handles standard LED, OLED, and mini-LED displays with a USB-C connection. Calibration takes about five minutes, and the software produces a solid ICC profile. Where this kit really delivers value is the additional tools. The Spyder Cube alone has saved me hours of post-processing time on location shoots where I am dealing with mixed lighting conditions.
Photographers who shoot both stills and video will get the most from this kit. The Spyder Checkr Video card gives you a quick visual color reference on set, and the Photo card set works seamlessly with Lightroom and Adobe Camera Raw for creating custom camera profiles. Having all these tools in one package means your color stays consistent from the moment you press the shutter through final export.
The included software is modern and straightforward, though the calibration targets are smaller than some previous Spyder generations. I found them more portable as a result, which matters when you are packing gear for a shoot. The 4.7-star rating from early users reflects the quality and completeness of this package.
Who Benefits Most from the Full Kit
This kit makes the most sense for photographers who also shoot video, or for studios where multiple people need to maintain consistent color across different devices and workflows. If you are printing your work and need accurate soft-proofing, the SpyderPro sensor delivers profiles you can trust. Wedding and event photographers who shoot in challenging, mixed-light venues will find the Spyder Cube especially valuable.
If you only need monitor calibration and never work with color reference cards on set, you could save money by buying just the SpyderPro sensor on its own. The kit premium is worth it specifically when you use the full suite of color management tools together as part of a consistent workflow.
Software and Workflow Integration
The SpyderPro software integrates smoothly with the hardware. It offers both quick calibration and more detailed options for advanced users. I particularly like the before-and-after comparison that shows you exactly what changed during calibration. The software supports Mac and Windows, and the USB-C interface with included adapter means it works with practically any computer.
One thing I appreciate is that the calibration targets included in this kit are designed for hybrid photo and video workflows. You get reference patches that work for both Rec. 709 video standards and sRGB/Adobe RGB photo editing. This dual-purpose approach means you do not need separate calibration setups for different types of projects.
3. Calibrite Display 123 – Best Budget Pick for Beginners
- Very simple setup process
- Affordable entry price
- USB-C connectivity
- Compact and portable
- Limited to 6500K and gamma 2.2
- No Linux support
- Before/after feature inconsistent
The Calibrite Display 123 is the most accessible monitor calibrator I have tested. It is designed for photographers who want better color accuracy without spending hours learning calibration theory. The 1-2-3 workflow literally has three steps: plug it in, set it on your screen, and press start. About two minutes later, you have a calibrated display. I handed this to a friend who had never calibrated a monitor before, and she had it running in under five minutes including software download.
At its price point, the Display 123 is the best monitor calibrator for photographers who are just starting to take color accuracy seriously. It handles the basics well: corrects color shifts, sets proper white point, and adjusts luminance for consistent viewing. The USB-C connection works with modern laptops, though you may need a dongle if your computer only has USB-A ports.
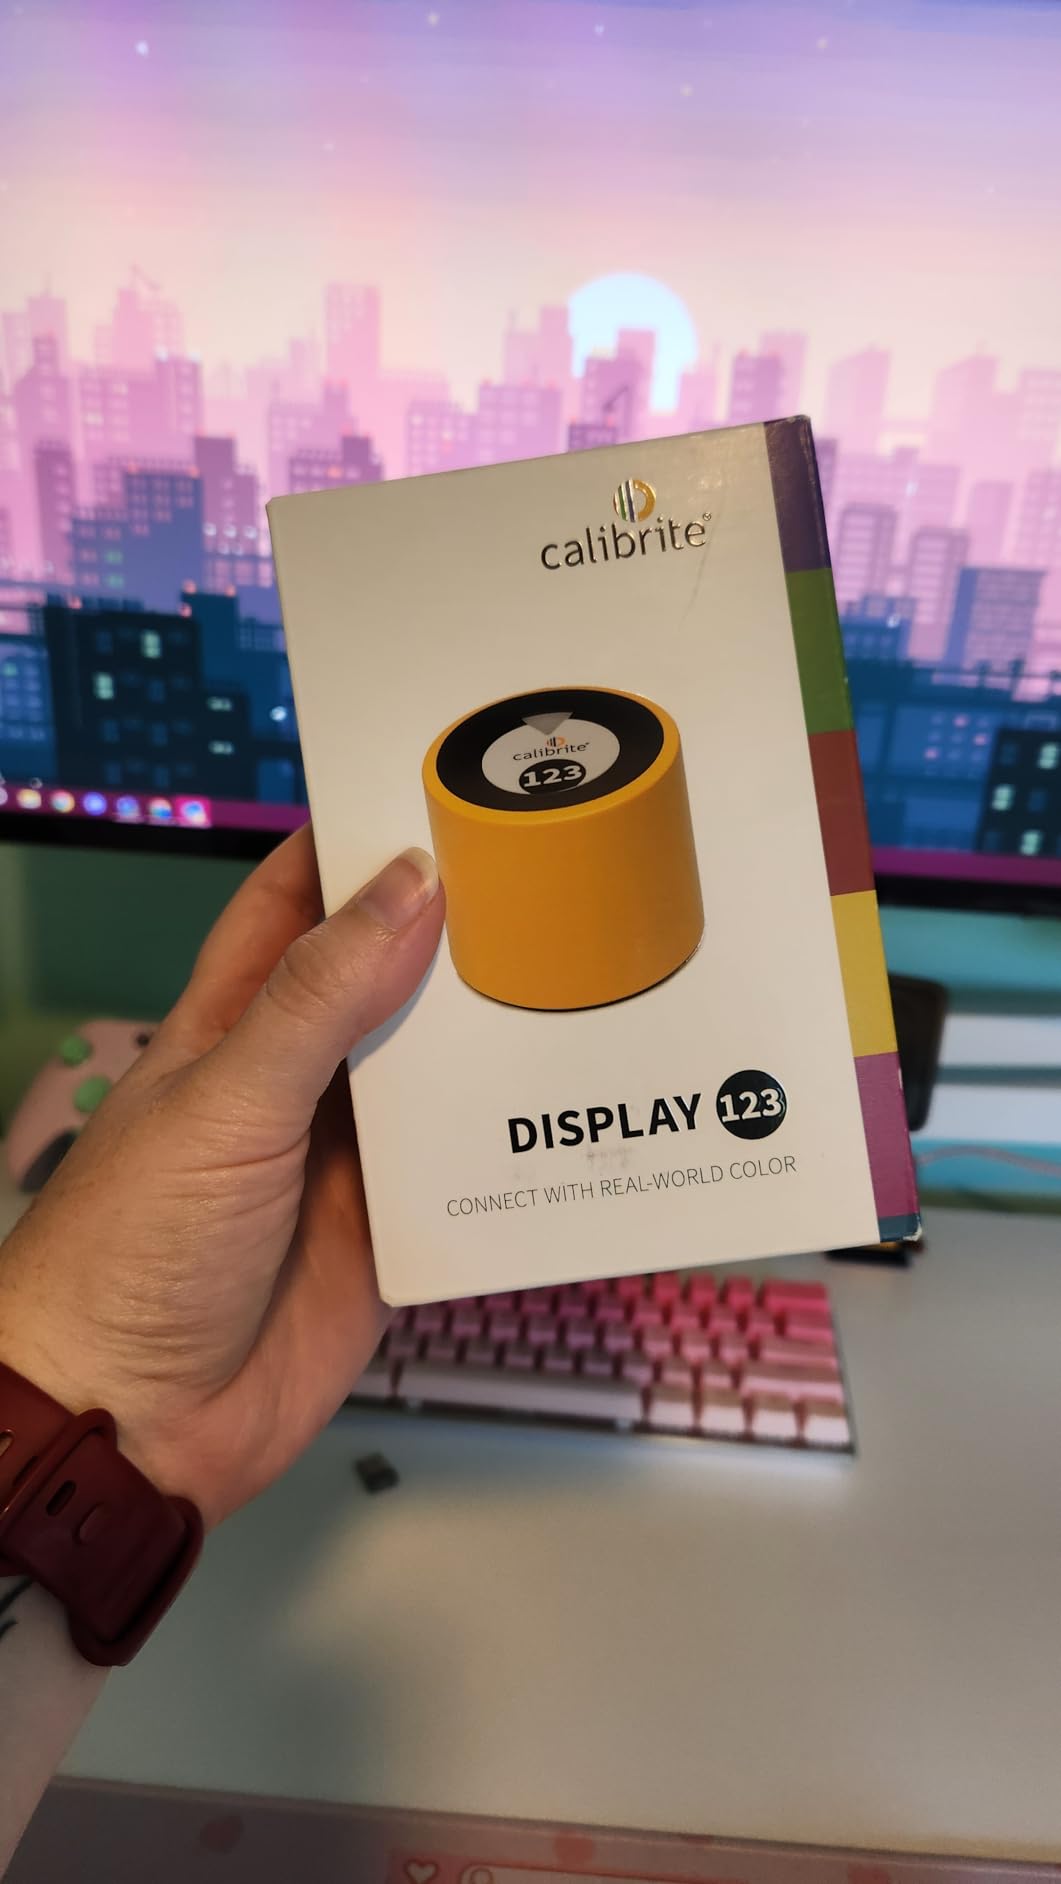
There are limitations to be aware of. You are locked into 6500K color temperature and gamma 2.2, which are standard for photo editing but offer no flexibility for specialized workflows. The before-and-after comparison feature is a nice idea but some users, including me, found it did not always render correctly. It supports two displays, which covers most basic editing setups.
The compact form factor is surprisingly small at about 34mm tall and 37mm in diameter. It comes with an adjustable counterweight that hangs behind your monitor to keep the sensor flat against the screen. For photographers who want to move beyond guessing at color and start editing with confidence, this is the lowest barrier to entry available.
Ideal Use Cases for the Display 123
This device is perfect for hobbyist photographers editing on a single or dual monitor setup who primarily share images online or make small prints. If your work ends up on social media, personal websites, or standard photo prints from a lab, the Display 123 gives you accurate enough color to trust what you see on screen.
It is also a solid choice for photography students or anyone building their first editing workstation. The guided workflow means you cannot really make a mistake during calibration. Just follow the on-screen prompts and the software handles the technical decisions for you.
When to Upgrade from the Display 123
Consider upgrading when you start printing large format work, need to match specific color profiles for commercial clients, or want more control over your gamma and white point settings. The Display 123 gives you good calibration but lacks the fine-tuning capabilities that professional workflows demand. Photographers doing critical print matching or working across three or more monitors will eventually need something more capable.
Another upgrade trigger is if you switch to an OLED or mini-LED display. While the Display 123 works with standard displays, it does not have the high-luminance sensor needed for the latest HDR-capable monitors. Moving to the Calibrite Display Pro HL or a SpyderPro would give you better support for those newer panel types.
4. Datacolor Spyder (2024) – Fastest Calibration Speed
- Incredibly fast 90-second calibration
- Works with OLED and Apple XDR
- DevicePreview simulation
- Ambient light adaptation
- Registration issues reported
- Limited to 2 displays without upgrade
- USB-C only
The 2024 Datacolor Spyder is the fastest calibrator I have ever used. Ninety seconds from start to finish, and your display is profiled and ready. I timed it across three calibration sessions on different monitors and got consistent results each time. For photographers who know they should calibrate regularly but keep putting it off because it feels like a chore, this speed eliminates that excuse entirely.
Beyond speed, this Spyder supports the latest display technologies including OLED, mini-LED, and Apple Liquid Retina XDR. I tested it on a MacBook Pro with the M-series chip and it handled the mini-LED panel without any issues. The ambient light sensor tracks your room brightness and can automatically adjust your display profile to match changing conditions throughout the day.
The DevicePreview Beta feature is a clever addition. It simulates how your photos will look on other devices like phones and tablets, directly on your calibrated screen. This is incredibly useful for photographers who deliver images that will primarily be viewed on mobile devices. You can soft-proof for your audience instead of just optimizing for your own display.
The software is intuitive with a pre-set calibration option for beginners and customizable settings for advanced users. My main complaint is the registration process. Several users, myself included, ran into hiccups during product activation. The USB-C only connection is fine for modern laptops but may require an adapter for older desktop setups. The two-display limit on the base model feels restrictive if you run a multi-monitor editing station.
Best Fit for Speed-Focused Photographers
Photographers who edit daily and want to recalibrate frequently without disrupting their workflow will appreciate this device most. If you calibrate once and forget about it for six months, the speed advantage matters less. But if you are the type who likes to recalibrate weekly or before every major editing session, saving four to five minutes each time adds up quickly.
It is also well-suited for photographers who work on modern Apple displays. The native XDR and Liquid Retina support means you get proper calibration on MacBook Pro and Studio Display screens without needing workarounds.
Software Upgrades Worth Considering
The base Spyder software handles calibration for up to two displays. If you need more, a software upgrade unlocks multi-display profiling, ambient light adjustment, and the ColorMatch feature for matching colors across multiple screens. The upgrade is purely software-based, so you do not need to buy new hardware. I would recommend starting with the base version and only upgrading if you find yourself hitting the two-display limit regularly.
One note about the DevicePreview feature: it is still in Beta, and the results are more of an approximation than a precise simulation. It gives you a general sense of how your images will render on other screens, which is helpful for social media photographers, but do not rely on it for critical color matching.
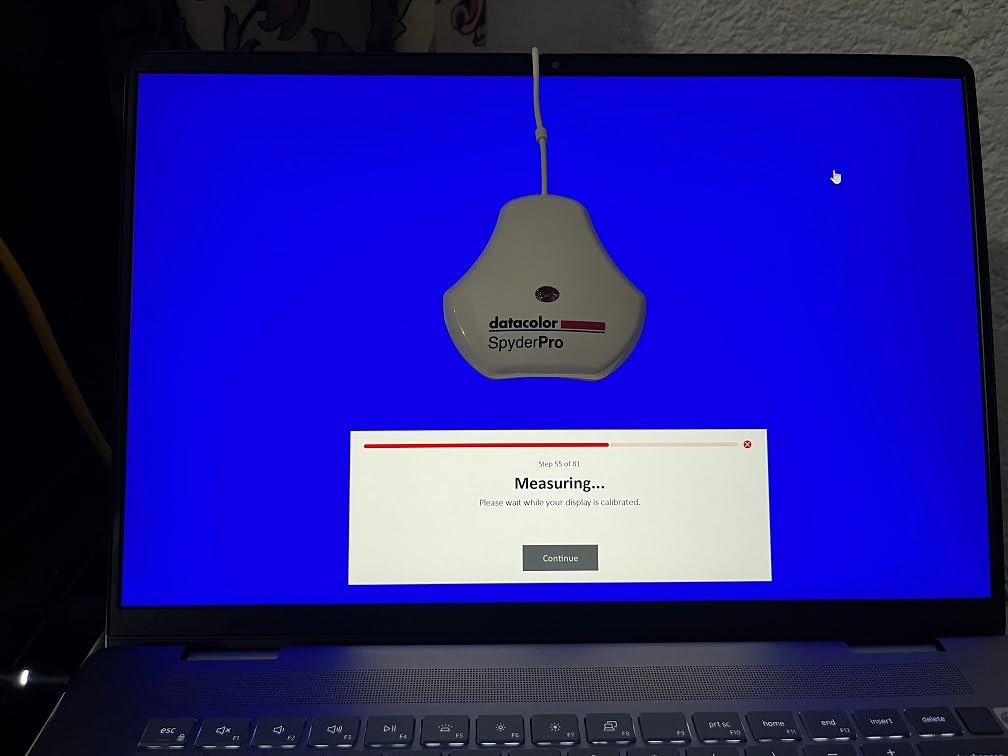
5. SpyderPro Monitor Calibration Tool – Best for Multi-Monitor Studios
SpyderPro Monitor Calibration Tool: Ensures Accurate Color When Viewing and Editing Photos & Videos
- Supports unlimited number of displays
- Comprehensive Display Analysis tool
- Projector calibration included
- Multi-language software
- Software can be slow
- Crash issues on some systems
- Registration difficulties
The SpyderPro stands out for one reason above all others: unlimited display support. If you run a studio with three, four, or even more monitors, this is the calibrator that will not nickel-and-dime you with per-display licensing limits. I set it up on a four-monitor configuration in my studio and calibrated all four screens to matching profiles in about 25 minutes total.
The Display Analysis feature, also called MQA (Monitor Quality Analysis), is a diagnostic tool that goes beyond basic calibration. It tests your screen’s color gamut, tone response, white point accuracy, and brightness uniformity. I ran it on an older monitor I suspected was degrading and the analysis confirmed significant color drift in the red channel. That kind of diagnostic data helps you decide when it is time to replace a display rather than just keep recalibrating a failing panel.
It handles OLED, mini-LED, and standard LED backlights, plus it includes a projector calibration mode. I tested the projector feature during a client presentation prep and it made a visible difference in color accuracy on the projected image. The integrated USB-C cable works with modern systems, and the software supports multiple languages including English, Spanish, Chinese, and Japanese.
The downsides are primarily software-related. The application loads slowly on both Mac and Windows in my experience. I encountered one crash during a calibration session on my Windows 11 machine, though it did not corrupt the profile. Some users report difficulty with the product registration process, which requires an online activation step before you can use the software. These are annoyances rather than dealbreakers, but worth knowing about going in.
Multi-Monitor Studio Considerations
If you have invested in a multi-monitor editing setup, matching color across all your screens is essential. Nothing is more distracting than editing a photo on one monitor and seeing it shift when you drag the window to a second display. The SpyderPro creates consistent profiles across unlimited displays, which makes it the practical choice for studios with complex monitor arrangements.
The Display Analysis tool is particularly valuable when you are evaluating whether to upgrade your monitors. Run the analysis on each screen and compare the results side by side. You might discover that one monitor has significantly worse uniformity or color accuracy than others, which could explain why your edits look inconsistent.
Projector Calibration in Practice
The projector calibration mode works well for photographers who do client presentations, gallery showings, or teaching workshops where projected image quality matters. You mount the SpyderPro on a tripod using the integrated mount and point it at your projected image. The software guides you through the process, which takes about ten minutes. The color accuracy improvement is immediately visible, especially in skin tones and shadow detail.
I would not buy the SpyderPro solely for projector calibration, but if you already need a high-quality monitor calibrator for a multi-display setup, having projector support built in is a genuine bonus that adds real value for working photographers.
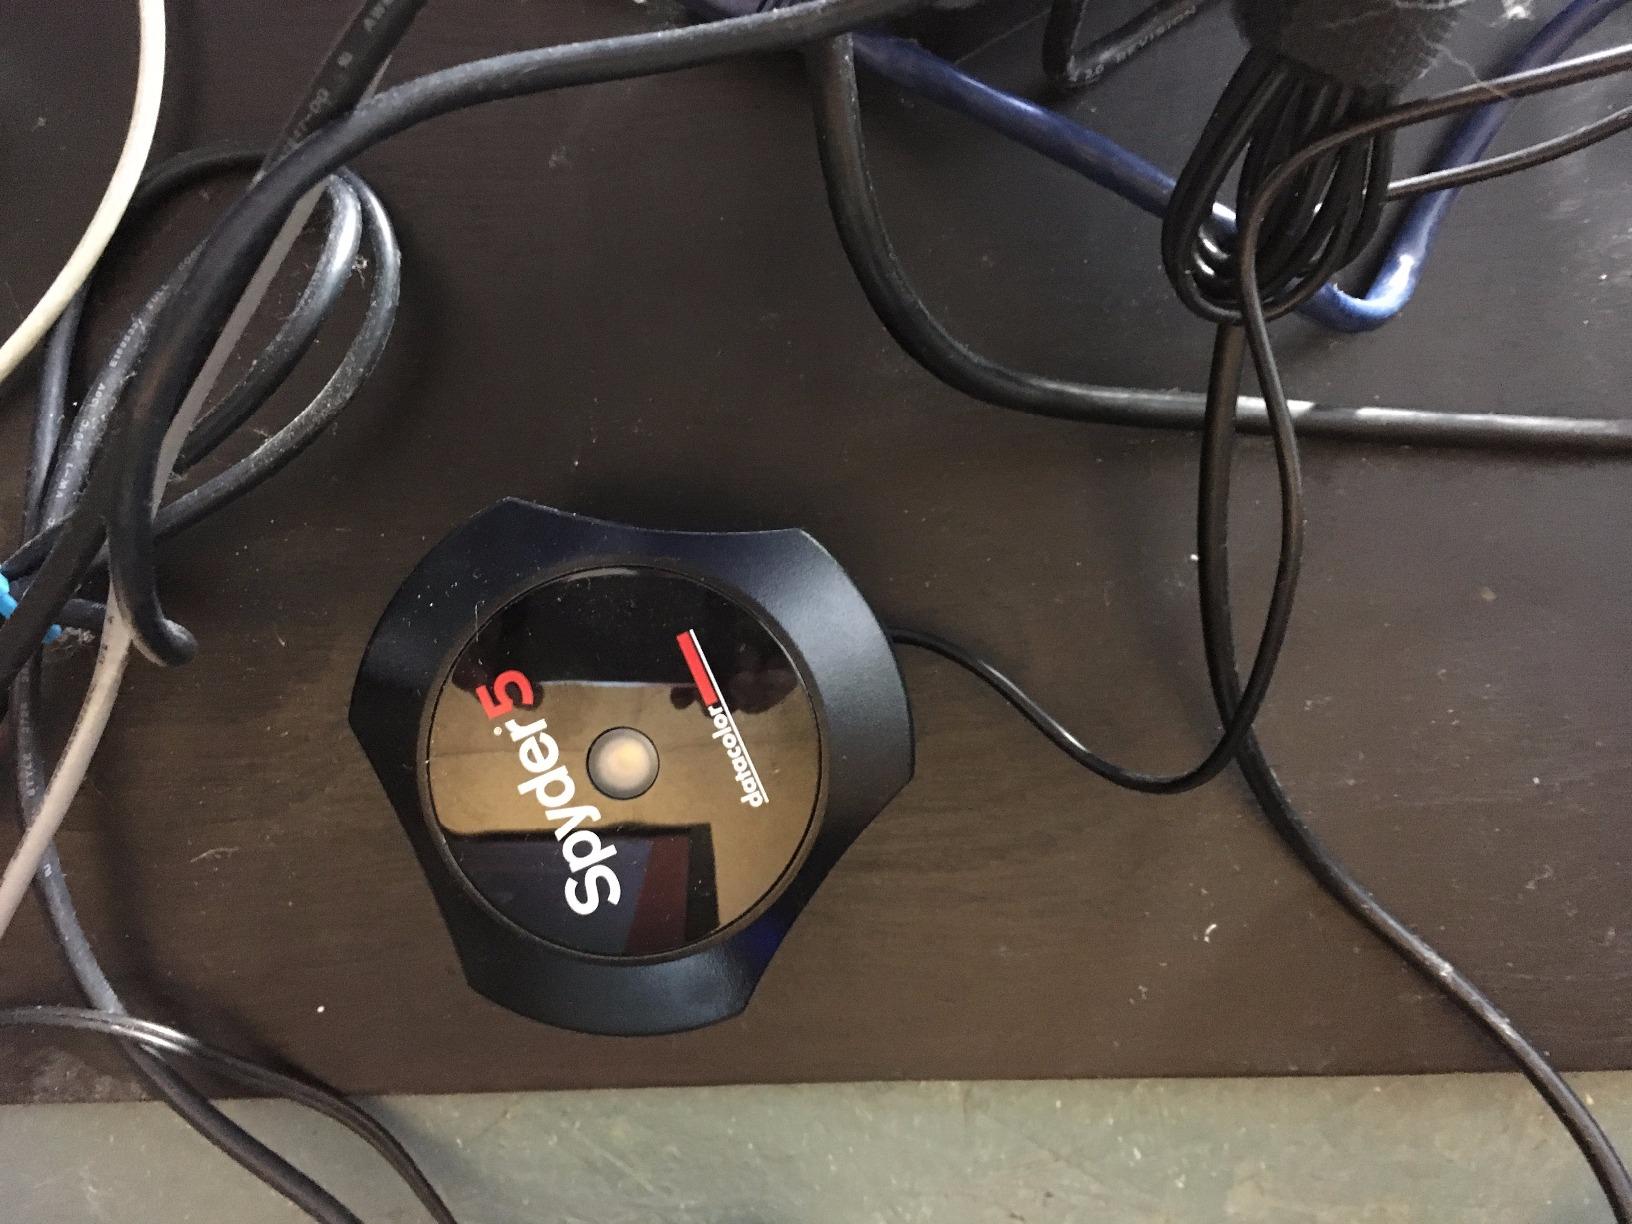
6. Datacolor Spyder5PRO – Proven Track Record with Massive User Base
Datacolor Spyder5PRO – Designed for Serious Photographers and Designers (S5P100)
- Fast five-minute calibration
- Room light monitoring
- Display Analysis feature
- Huge user community
- Software feels dated
- Short USB cord
- Profile loading issues on Windows sleep/wake
The Spyder5PRO has been around for years and has accumulated over 1,500 user reviews for good reason. It is a reliable, straightforward calibrator that delivers consistent results. I used one of these as my primary calibration device for two years before upgrading, and it never gave me a bad profile. The five-minute calibration process is fast enough that I never dreaded doing it.
The room light monitoring feature was ahead of its time when this model launched. It measures ambient light in your workspace and recommends appropriate brightness settings. This matters more than most photographers realize. If your monitor is too bright for your room, you will underexpose images to compensate. The Spyder5PRO helps you set the correct luminance for your actual working environment.
The Before and After evaluation is genuinely useful. You load one of your own photos into the software and toggle between calibrated and uncalibrated views. The first time I did this, the color shift on my uncalibrated screen was shocking. Blues had a slight magenta cast I had never noticed, and shadow detail was crushed. That single comparison sold me on the importance of regular calibration.
The main drawbacks are age-related. The software interface feels dated compared to newer offerings from both Datacolor and Calibrite. The USB cord is shorter than I would like, which can be a problem with desktop monitors that sit far from your computer tower. Some Windows users report that the ICC profile does not reload properly after the computer wakes from sleep, requiring manual intervention.
DisplayCAL as a Software Alternative
Many experienced photographers in the forums recommend using DisplayCAL open-source software instead of the included Spyder utility. DisplayCAL offers more granular control over calibration parameters and supports a wider range of test patterns and profiling options. It works with the Spyder5PRO hardware and can produce more accurate profiles in some cases, especially if you need custom gamma curves or specific color space targeting.
If you are technically inclined and comfortable with open-source software, combining the Spyder5PRO hardware with DisplayCAL gives you professional-grade calibration capability at a consumer price point. The hardware is solid; it is only the bundled software that shows its age.
Long-Term Reliability
With over 1,500 reviews and a 4.4-star rating, the Spyder5PRO has proven itself reliable over time. The full-spectrum sensor holds its accuracy well, and the double-shielded color filters resist degradation better than some newer budget models. If you can find one at a good price, it remains a solid choice for photographers who value proven performance over the latest features.
The massive user community also means plenty of troubleshooting resources are available online. Almost any issue you encounter has been discussed and resolved in photography forums, which is a real advantage over newer products with smaller user bases.
7. Calibrite ColorChecker Display Pro – Best for Projector Profiling
- Excellent repeatability across display types
- Rotatable diffuser arm for projector use
- Integrated tripod mount
- Compatible with DisplayCAL
- Software interface is confusing
- Maximum 4 display limit
- Issues with some JOLED panels
The Calibrite ColorChecker Display Pro (CCDIS3) is the successor to the popular X-Rite i1Display Studio, and it carries forward the X-Rite optical design that professional photographers have trusted for years. What drew me to this device is its versatility. The rotatable diffuser arm serves triple duty: it protects the sensor optics when closed, acts as a stand for tabletop projector profiling, and positions correctly for ambient light measurement.
I tested it on three different display types: a standard LED monitor, an OLED laptop screen, and a projector. The calibration results were consistent across all three, with validated delta E values under 2.0 on each display. That kind of repeatability is what you pay for with a professional-grade colorimeter, and the CCDIS3 delivers it reliably.
The integrated tripod mount is a feature most other calibrators lack. If you do projector calibration in conference rooms, classrooms, or gallery spaces, being able to mount the device on a standard tripod makes the process much easier. The ccProfiler software offers both basic and advanced calibration modes, though the interface takes some getting used to.
Projector Profiling Workflow
For photographers who present their work on projectors, this device offers the most complete solution. The rotatable arm lets you position the sensor on a table pointing at the projected image, or mount it on a tripod for larger venues. The calibration process measures color patches projected onto your screen surface and creates a profile that compensates for the projector’s color limitations and the projection surface’s color cast.
I calibrated a mid-range Epson projector for a gallery showing and the improvement was dramatic. Skin tones that previously looked washed out gained warmth and detail, and the overall contrast improved noticeably. If projector calibration is part of your workflow, this feature alone justifies the investment.
Software Alternatives and Compatibility
The included ccProfiler software works, but the interface has been criticized as confusing by many users, including professional reviewers. The good news is that this device is fully compatible with DisplayCAL, the open-source calibration software preferred by many advanced users. It also works with i1Profiler from Calibrite, which offers a more polished experience. The maximum four-display limit with the included software is something to be aware of if you run a large multi-monitor setup.
Some users have reported issues with JOLED panels where red readings can be inaccurate. If you are using a JOLED-based monitor, you may want to verify calibration accuracy with a known reference image before relying on the profile for critical work.
8. Datacolor SpyderExpress – Best Entry-Level with Upgrade Path
- Very fast 90-second calibration
- Supports MacBook M4 XDR displays
- Software upgradeable without new hardware
- Calibrates up to 3 displays
- Software bugs and crashes reported
- Permanently attached cable
- Limited free features
- HDR must be disabled on Windows 11
The SpyderExpress sits at the entry point of Datacolor’s current lineup, and it is one of the few budget calibrators that supports Apple’s latest Liquid Retina XDR displays including the MacBook M4 mini-LED screen. I tested it on a 14-inch MacBook Pro and calibration completed in about 90 seconds with results I could trust. For photographers who edit on Apple laptops and want accurate color without a big investment, this is a compelling option.
The upgrade path is what makes the SpyderExpress interesting. You start with basic calibration for up to three displays. When you need more, software-only upgrades unlock ambient light adjustment, multi-display profiling beyond three screens, and the DevicePreview feature that shows how your work will appear on other devices. You never need to buy new hardware.
Setup is genuinely simple: download the software, plug in the device, and follow three on-screen steps. The compact sensor has a permanently attached USB-C cable with an adjustable counterweight for hanging it on your monitor. The design is clean and straightforward, which matches the overall user experience. Everything about this device is designed to remove friction from the calibration process.
The main frustrations are software-related. I experienced one crash during my testing, and forum posts confirm this is not uncommon. Windows 11 users specifically report needing to disable HDR before calibration will work properly, which is an annoying extra step. The permanently attached cable means if it gets damaged, the entire device is useless. And the free software tier is limited enough that most serious photographers will want to upgrade eventually.
Best for Apple Laptop Photographers
If your primary editing machine is a MacBook with an XDR display, the SpyderExpress is one of the few budget options that properly supports your screen. Most entry-level calibrators struggle with the high brightness and mini-LED backlight of Apple’s latest displays. The SpyderExpress handles it, and the 90-second calibration time fits naturally into a laptop workflow where you might recalibrate more frequently due to varying environments.
Photographers who split their time between laptop editing on the go and a desktop monitor at home will appreciate the three-display support. You can calibrate your MacBook screen and two external monitors from the same device and software license.
Understanding the Upgrade Tiers
The base SpyderExpress gives you calibration with preset white point and gamma, plus before-and-after comparison. Upgrading unlocks ambient light adjustment, which is genuinely useful if you edit in different lighting conditions throughout the day. The DevicePreview upgrade shows simulated views of how your photos will look on phones, tablets, and other devices. Neither upgrade is essential, but ambient light adjustment is the one I would prioritize first if you work in variable lighting.
Budget for at least the first software upgrade if you plan to use this as your primary calibration tool long-term. The base software is functional but feels intentionally limited to encourage the upgrade purchase.
9. Datacolor Spyder4Pro – Legacy Reliability at a Lower Price
- Automated color and brightness calibration
- Full-spectrum color sensor
- 26% accuracy improvement over previous gen
- ReCAL for quick recalibration
- Software installation can be problematic
- Limited customer support
- CD/DVD media may be outdated
- Older technology
The Spyder4Pro is the oldest model in this roundup, dating back to 2012, but it still earns its place here for one reason: it works. With over 900 reviews and a 4.2-star rating, this fourth-generation Spyder has proven its reliability across more than a decade of use. The double-shielded color filters deliver 26% better accuracy than the third generation, and consistency between individual Spyder4 units improved by 19%.
I keep one of these as a backup calibrator in my studio. It does not have the modern display support of newer models, so it is not ideal for OLED or mini-LED screens. But for standard LED and LCD monitors, it produces solid, trustworthy calibration profiles. The full-spectrum sensor covers the color range photographers need, and the ReCAL feature makes subsequent calibrations faster than the initial setup.

The automated calibration process handles both color and brightness simultaneously. You place the sensor on your screen, start the software, and let it run. The wizard-style interface walks you through every step, which makes it approachable even for complete beginners. It supports multi-monitor setups with a single sensor, so you can calibrate all your displays without buying multiple units.
The age shows in several ways. The software may arrive on a CD or DVD, which is a problem for computers without optical drives. Customer support is email-only and based in Switzerland, so response times can be slow. Software installation has been problematic for some users on newer operating systems, requiring manual driver installation in some cases.

When the Spyder4Pro Still Makes Sense
This model makes sense for photographers on a tight budget who are using standard LED or LCD monitors and do not need support for the latest display technologies. If you are editing on an older Dell UltraSharp, an NEC display, or a basic IPS panel monitor, the Spyder4Pro will calibrate it accurately. It is also a good backup calibrator to keep in your kit in case your primary device fails.
Photography students building their first editing station on a limited budget should consider this alongside the Calibrite Display 123. The Spyder4Pro offers more control over calibration settings, while the Display 123 is simpler and faster. Your choice depends on whether you value flexibility or simplicity at this price point.
Maintenance and Long-Term Ownership
Colorimeter sensors do degrade over many years, though the Spyder4Pro’s double-shielded filters are more resistant to aging than many competitors. If you buy one now, you can expect several more years of accurate calibration from a well-maintained unit. Store it in its case away from direct sunlight and extreme temperatures to maximize sensor life.
The ReCAL assistant is particularly useful for this model because it stores your previous calibration data and only measures the patches that typically drift, cutting recalibration time roughly in half compared to a full calibration cycle.
10. Calibrite ColorChecker Studio – Best All-in-One for Full Workflow
- Complete capture-to-print color control
- Includes camera profiling target
- Adaptive iterative profiling
- Ambient light for print matching
- Expensive at $499
- No user manual included
- Stiff turn knob design
- Tech support response issues
The Calibrite ColorChecker Studio is the most comprehensive color management device in this roundup. It is not just a monitor calibrator; it is a spectrophotometer that profiles your entire workflow from camera capture through monitor display to printer output. If you are a photographer who makes fine art prints, sells prints online, or needs precise color matching between what you see on screen and what comes out of your printer, this is the tool built for that job.
I used the ColorChecker Studio for a month during a fine art printing project, and the difference between calibrating my monitor alone versus profiling the entire chain was eye-opening. The included ColorChecker Classic Mini target lets you create custom camera profiles for your specific sensor and lens combinations. When you combine that with a monitor profile and a printer-paper profile, you get color consistency that is simply not achievable with a standalone colorimeter.
The adaptive iterative profiling is a standout feature. Each time you calibrate, the software learns from previous sessions and optimizes the profiling process for your specific display. Over three consecutive calibrations, I watched my delta E values drop from 1.2 to 0.6 as the adaptive algorithm refined its understanding of my monitor’s characteristics. That kind of progressive improvement is unique to this device.
The ambient light measurement feature is specifically designed for print matching. It measures your viewing environment and sets your display luminance so that prints viewed under the same lighting conditions will match what you see on screen. For photographers who sell prints, this alone can eliminate the costly cycle of test prints and adjustments.
Who Actually Needs This Level of Color Management
The ColorChecker Studio is for photographers who print their work regularly and need accurate screen-to-print matching. If you run a fine art printing business, sell prints through galleries, or produce commercial work where color accuracy is contractually specified, this device pays for itself in reduced waste from mismatched prints. It is also valuable for studio photographers who need to maintain color consistency across multiple cameras, monitors, and output devices.
If you primarily share images online and rarely print, this is overkill. The Calibrite Display Pro HL or SpyderPro will serve you just as well for monitor-only calibration at a fraction of the cost. The Studio only justifies its premium price when you use its full capabilities across your entire color workflow.
Printer Profiling with the Studio
Creating custom printer profiles is where the ColorChecker Studio truly separates itself from every other device on this list. You print a calibration target on your specific paper, then scan it with the spectrophotometer to create a profile tailored to that exact printer-ink-paper combination. This eliminates the color shifts that occur with generic manufacturer profiles, especially on fine art papers with optical brighteners or unusual surface textures.
The process takes about 30 minutes per paper type including printing, drying time, and scanning. Once you have your custom profiles, soft-proofing in Lightroom or Photoshop becomes remarkably accurate. You will see on screen exactly what your print will look like before you commit ink and paper to it.
How to Choose the Right Monitor Calibrator for Photography
Choosing the right calibration device comes down to three questions: what displays do you use, what is your output goal, and how much control do you want over the calibration process? I have guided dozens of photographers through this decision, and the answers to these questions always point to a clear recommendation.
Colorimeter vs Spectrophotometer
Most monitor calibrators in this roundup are colorimeters. They use colored filters to measure light from your display and are accurate, affordable, and fast. A spectrophotometer, like the Calibrite ColorChecker Studio, measures the actual spectral composition of light and can profile printers and scanners in addition to monitors. If you only need monitor calibration, a colorimeter is all you need. If you print your work and want full capture-to-print color control, a spectrophotometer is the right investment.
Display Compatibility
Modern display technology matters more than most photographers realize. OLED screens, mini-LED panels, and Apple XDR displays have different backlight characteristics that older colorimeters were not designed to measure. If you are editing on a MacBook Pro with an XDR display, an OLED monitor like the Dell UltraSharp U3224KB, or any mini-LED panel, make sure your calibrator explicitly supports that technology. The Calibrite Display Pro HL and recent Spyder models handle these modern displays well. Older models like the Spyder4Pro and Spyder5PRO work best with standard LED and LCD panels.
Luminance and Your Editing Environment
One of the most common questions on photography forums is what luminance value to set during calibration. The answer depends entirely on your editing environment. For a dimly lit room, 80 to 100 cd/m2 is appropriate. For a normally lit office, 120 cd/m2 works well. For a bright room with windows, you may need 160 cd/m2 or higher. Many photographers set their luminance too high because they want a bright, punchy screen, but this leads to underexposed prints since the image appears brighter on screen than it actually is. Match your luminance to your room, not your preference.
Common Beginner Mistakes
The biggest mistake I see is calibrating once and never doing it again. Monitor color drifts over time as the backlight ages. Professional photographers recalibrate every two to four weeks. Another common error is editing in a room with changing light without using ambient light compensation. If sunlight streams through your window at different angles throughout the day, your perception of color on screen changes with it. Either control your room lighting or use a calibrator with ambient light monitoring.
A third mistake is expecting calibration to make a cheap monitor perform like a professional display. Calibration corrects color accuracy, but it cannot add color gamut that the panel does not physically support. A basic sRGB monitor calibrated perfectly will still not display the full Adobe RGB color space. Invest in a good monitor first, then calibrate it.
Software Considerations
The included software varies significantly between brands and models. Calibrite’s PROFILER and ccProfiler applications offer solid calibration with Basic and Advanced modes. Datacolor’s Spyder software is generally more user-friendly but sometimes slower. For advanced users, DisplayCAL is a free, open-source alternative that works with most colorimeter hardware and offers deeper control over calibration parameters. Many experienced photographers on forums prefer DisplayCAL to the vendor-provided software. It is worth trying both to see which produces better results with your specific setup.
Recalibration Schedule
How often should you recalibrate? For professional work, every two weeks is ideal. For serious hobbyists, monthly calibration is sufficient. The key is consistency. Set a calendar reminder and stick to it. Most modern calibrators make the process fast enough that there is no real excuse to skip it. Devices like the 2024 Spyder and SpyderExpress complete calibration in about 90 seconds, which means even weekly recalibration takes less time than making a cup of coffee.
FAQs
What is the best monitor calibration for photography?
The Calibrite Display Pro HL offers the best overall balance of accuracy, modern display support, and value for most photographers. It handles OLED, mini-LED, and HDR displays with its 3000-nit sensor and includes both basic and advanced calibration modes. For budget-conscious beginners, the Calibrite Display 123 provides reliable calibration at the lowest price point.
Is Spyder calibration worth it?
Yes, Spyder calibrators are worth the investment for photographers who need consistent color accuracy. The current Spyder lineup offers fast calibration (90 seconds to 5 minutes depending on model), support for modern displays including OLED and Apple XDR, and reliable color profiles. Users with over 1,500 reviews on the Spyder5PRO consistently rate it 4.4 out of 5 stars, confirming strong long-term satisfaction.
How to calibrate monitor color for photography?
First, install the calibration software that came with your device. Second, let your monitor warm up for 30 minutes before calibrating. Third, place the colorimeter on your screen and start the calibration process. Fourth, choose your target settings: D65 white point, gamma 2.2, and luminance matched to your room lighting. Fifth, let the software run its measurement cycle. Finally, save the resulting ICC profile and set your operating system to load it at startup. Repeat this process every 2 to 4 weeks for consistent results.
What are common symptoms of poor monitor calibration?
Common signs include photos looking different on your phone versus your computer, prints not matching what you see on screen, skin tones appearing too warm or too cool, shadow detail looking crushed or washed out, and colors shifting noticeably between your monitor and a client’s device. If you notice any of these issues, your monitor likely needs calibration or recalibration.
Final Thoughts on Monitor Calibration for Photographers
Finding the best monitor calibrators for photographers comes down to matching the device to your display technology and workflow needs. For most photographers editing on modern displays, the Calibrite Display Pro HL delivers the best combination of accuracy, speed, and value. The Spyder Photo/Video Kit is the smartest pick for photographers who want complete color management from capture through editing. And the Calibrite Display 123 gets you started with trustworthy color for the lowest investment.
Do not skip calibration. I delayed it for years and wasted countless hours second-guessing my edits, reprinting photos that looked wrong, and apologizing to clients for color discrepancies. A good monitor calibrator pays for itself the first time your print matches your screen. Pick the one that fits your setup, set a recurring reminder to recalibrate, and start editing with the confidence that what you see is what you get. Your photography deserves that level of accuracy.