
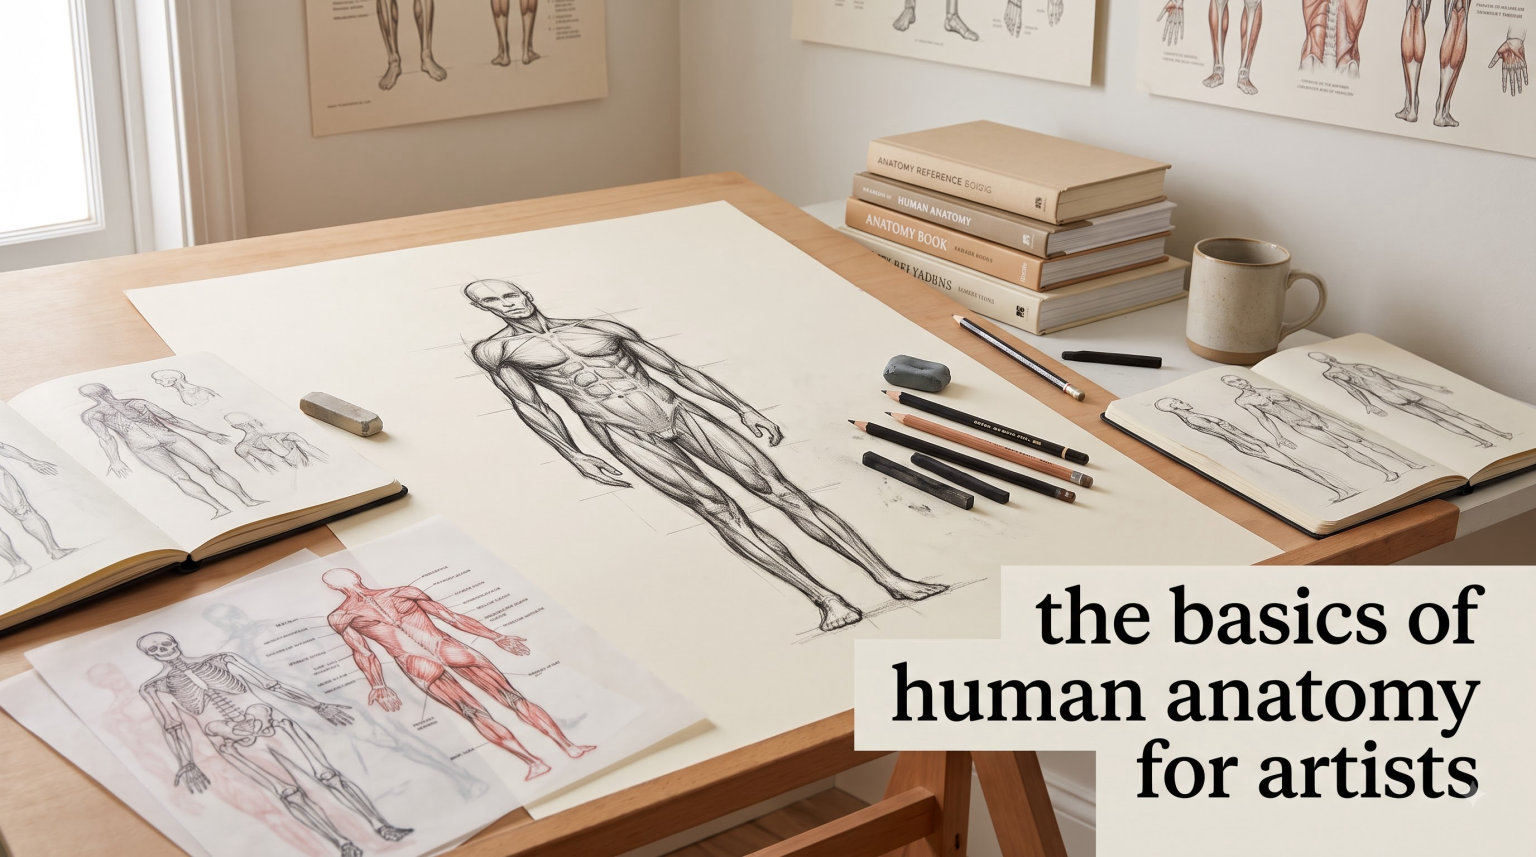
Learning human anatomy for artists can feel overwhelming at first. I remember staring at dense medical textbooks wondering which bones actually mattered for drawing. After years of study and countless hours with figure models, I have discovered that anatomy knowledge transforms every figure drawing from flat and lifeless to dimensional and believable. This guide cuts through the complexity to give you exactly what you need as an artist – not a medical degree.
You will learn the essential bones, muscles, and surface landmarks that actually show up in your drawings. I have structured this so you start with the big picture and gradually add detail. By the end, you will have a clear roadmap for studying anatomy that fits into your drawing practice without burning you out.
Table of Contents
Why Anatomy Knowledge Changes Everything for Artists
Understanding human anatomy for artists gives you the ability to draw figures from imagination rather than relying entirely on reference. When you know how the skeleton supports the body and how muscles wrap around bones, you can construct figures in any pose without guessing.
Should you learn anatomy before drawing? The answer is both yes and no. You do not need to memorize every bone before picking up a pencil. However, having basic anatomical knowledge early prevents bad habits. Many self-taught artists draw what they think they see rather than what is actually there. Without anatomy knowledge, knees become simple hinges, shoulders become round bumps, and the spine disappears entirely.
I recommend a parallel approach. Start drawing immediately, but spend fifteen minutes each study session learning one anatomical concept. Apply that concept in your next drawing. This active engagement cements knowledge far better than passive memorization.
Professional character designers, concept artists, and illustrators all rely on anatomical understanding. It is the difference between drawing symbols and drawing structure. A circle with two dots becomes a skull with brow ridges and cheekbones. A tube becomes a forearm with ulna and radius landmarks.
The Skeletal Foundation: Bones Every Artist Should Know
The skeleton provides the underlying framework that determines every external contour. You do not need to memorize 206 bones. Focus on the major structures that influence surface form and visible landmarks.
The Spine: Your Centerline of Action
The spine divides into three main regions you should recognize. The cervical spine forms the neck with seven vertebrae. The thoracic spine runs through the ribcage area with twelve vertebrae. The lumbar spine creates the lower back curve with five vertebrae. Below that sits the sacrum and coccyx, which anchor the pelvis.
The spine creates the primary action line of any pose. It has natural curves that give the body rhythm and life. A straight spine looks rigid and unnatural. When drawing, I always start with a gestural line that captures this spinal curve before adding any other structure.
Each spinal region allows different movement ranges. The cervical spine rotates the head. The thoracic spine allows limited rotation. The lumbar spine creates forward and backward bending. Understanding these movement ranges helps you draw natural, believable poses.
Torso Framework: Ribcage and Pelvis
The ribcage and pelvis form the core mass of the figure. Think of them as two major blocks that can move independently. The ribcage contains twelve pairs of ribs attaching to the thoracic spine and wrapping around to the sternum in front. The sternum itself divides into three parts – the manubrium at top, the body in the middle, and the xiphoid process at the bottom.
The pelvis consists of three fused bones on each side: the ilium at the top, the ischium at the bottom back, and the pubis at the front. These fuse together and connect to the sacrum at the back. In adults, you cannot see the separation, but understanding these parts helps you draw the pelvic shape correctly.
The ribcage sits at an angle, sloping downward from back to front. The pelvis angles slightly backward in neutral position. The space between them contains the flexible lumbar spine and the abdominal muscles. This relationship creates the characteristic torso shape and allows for twisting, bending, and arching movements.
Limb Bones: Arms and Legs Simplified
The arm contains three major bones. The humerus runs from shoulder to elbow. The radius and ulna form the forearm, with the radius on the thumb side and the ulna on the pinky side. These two bones cross when the hand rotates, which creates the visible forearm rotation you see when turning a doorknob.
The leg similarly contains three major bones. The femur runs from hip to knee – the longest and strongest bone in the body. The tibia forms the shin on the inner side, bearing most of the weight. The fibula runs along the outer side, thinner and primarily for muscle attachment. The knee joint sits between femur and tibia, with the patella protecting the front.
When drawing limbs, remember they are not simple cylinders. The humerus and femur have twists and landmarks. The forearm bones create visible changes in contour depending on rotation. Understanding these underlying bone structures explains why the surface looks the way it does.
Surface Anatomy: Landmarks That Guide Your Drawings
Surface anatomy refers to the bony landmarks visible beneath the skin. These are your guides for placing anatomy correctly and creating convincing contours. I always look for these landmarks when drawing from life or reference.
The clavicles, or collarbones, create a visible S-curve across the upper chest. They angle upward from the sternum to the shoulders. In thin individuals, you can often see the entire bone. Even when covered, the clavicle position affects how the neck meets the torso and how the shoulder drapes.
The scapulae, or shoulder blades, sit on the back and create the shoulder mass. Their medial borders often show as parallel lines in the upper back. The inferior angle, the bottom tip of the scapula, sits at approximately the level of the seventh rib and creates a visible point in the back contour.
The spine of the scapula creates a horizontal ridge across the upper back. The acromion process forms the bony point of the shoulder where the clavicle meets the scapula. Understanding these landmarks helps you draw the complex shoulder area with accuracy.
The pelvis creates several visible landmarks. The iliac crest forms the top ridge of the hip bones. The anterior superior iliac spine sits at the front of this crest and often shows as a visible point, especially in thin or muscular individuals. The greater trochanter of the femur creates the widest point of the hip area.
The knees and elbows both have prominent landmarks. The kneecap sits centered on the knee joint. The medial and lateral condyles of the femur create the rounded shapes above the knee. The head of the fibula creates a bump on the outside of the lower leg below the knee.
At the elbow, the olecranon process of the ulna forms the pointy tip when the arm bends. The medial and lateral epicondyles of the humerus create bumps on either side of the elbow. These landmarks help you draw the elbow area with structural understanding rather than just copying what you see.
Body Proportions: The Foundation of Believable Figures
Correct proportions make the difference between a figure that looks human and one that looks like a cartoon. The classic system uses head height as the measuring unit. An average adult stands seven and a half to eight heads tall.
The head itself serves as your base measurement. The eyes sit halfway between the top of the head and the chin. The bottom of the nose sits halfway between the eyes and chin. The mouth sits about one-third down from nose to chin. These divisions give you a framework for placing facial features.
For the full body, the nipples typically align with the second head mark from the top. The navel sits around the third head mark. The pubic bone sits approximately at the halfway point of the figure. The fingertips reach to about the middle of the thigh when arms hang straight.
The hand length equals the face length from hairline to chin. The foot length equals the forearm length from elbow to wrist. These proportional relationships help you check your drawings for accuracy.
Remember that these are averages and starting points. Real people vary. Some people have longer torsos and shorter legs. Others have broader shoulders or longer necks. Understanding the standard proportions first lets you exaggerate or modify them intentionally rather than by accident.
When drawing children, the proportions change dramatically. A toddler might be only four heads tall with a larger head relative to the body. As children grow, the head becomes proportionally smaller. Understanding these proportional shifts helps you draw figures of any age convincingly.
Muscles Artists Actually Need to Know
You do not need to memorize every muscle in the body. Focus on the superficial muscles that affect surface form and create the contours you actually draw. I organize these by body region for easier learning.
The sternocleidomastoid is the most important neck muscle for artists. It runs from behind the ear down to the sternum and clavicle, creating the characteristic V-shape of the neck. When the head turns or tilts, this muscle becomes prominent. It divides the neck into front and side planes.
The trapezius forms the major muscle of the upper back and neck. It attaches to the skull, spine, and clavicle, then fans out to the shoulder. The upper fibers shrug the shoulders. Understanding the trapezius explains the complex shapes where neck meets shoulders.
The deltoid caps the shoulder like a shoulder pad. It has three parts – anterior, lateral, and posterior – that work together to move the arm. The deltoid creates the rounded contour of the shoulder and changes shape dramatically with arm position.
The pectoralis major forms the chest muscle. It fans from the sternum and clavicle out to the upper arm. The muscle fibers create a characteristic pattern that shows through the skin, especially in muscular individuals. Understanding the pectoralis helps you draw the chest with believable form.
The rectus abdominis forms the six-pack muscle running down the front of the abdomen. It separates into segments that become visible with low body fat. The external obliques sit on the sides, creating the waist contour and connecting to the pelvis.
In the arms, the biceps brachii sits on the front of the upper arm while the triceps brachii forms the back. The biceps bulge when flexed, but remember that the triceps actually forms most of the upper arm mass. Understanding both gives you accurate arm proportions.
The forearm contains many muscles that create its characteristic taper. The brachioradialis creates the bulge on the thumb side near the elbow. The extensors and flexors create the bulk of the forearm and determine its shape.
The quadriceps form the front of the thigh, with four muscles that extend the knee. The rectus femoris is the central visible muscle. The hamstrings form the back of the thigh. The gastrocnemius creates the calf muscle bulge. The tibialis anterior runs along the shin.
How to Study Anatomy: A Beginner’s Roadmap
Many artists ask how to study anatomy without getting overwhelmed. I have seen too many people burn out trying to memorize every bone in the first week. Here is the approach that actually works.
Step 1: Learn the skeleton as simplified forms. Do not memorize every bone name yet. Learn the spine as a flexible column. See the ribcage as an egg shape. View the pelvis as a bowl. Understand the limbs as simple cylinders connected by joints. This gives you the foundational structure.
Step 2: Add the major landmarks. Once you understand the big forms, learn the bony landmarks that show on the surface. Focus on the ones visible in most people: clavicles, acromion, sternum, iliac crest, greater trochanter, kneecaps, and elbows. These guide your contour drawing.
Step 3: Study proportions. Practice measuring figures in head heights until the proportions become automatic. Draw from reference and check your measurements. Eventually, you will feel when proportions are off without measuring.
Step 4: Learn muscles by region. Tackle one body region at a time. Start with the torso – it is the largest mass and influences everything else. Then move to arms, legs, and finally hands and feet. Do not jump around randomly.
Step 5: Apply immediately through drawing. For every anatomical concept you learn, draw it from imagination within 24 hours. This active recall cements the knowledge. Draw the bones, then draw a figure showing how those bones influence the surface.
Step 6: Study from life and quality reference. Anatomy books give you idealized knowledge, but real bodies vary. Draw from life when possible. Use photo reference showing different body types, ages, and fitness levels. Notice how anatomy shows differently on different people.
Step 7: Review and build iteratively. Return to earlier topics regularly. Each time you revisit the skeleton, you will notice new details. Anatomy learning is spiral, not linear. You build deeper understanding with each pass.
I recommend spending at least six months on foundational anatomy before expecting mastery. Some artists study anatomy their entire careers, continuously deepening their understanding. Be patient with yourself.
Common Anatomy Drawing Mistakes to Avoid
After teaching anatomy to hundreds of students, I see the same mistakes repeatedly. Recognizing these early saves you years of frustration.
The most common error is ignoring the spine. Many beginners draw the torso as a stiff cylinder. The spine gives the body its natural curves and movement. Always establish the spinal curve before adding the ribcage and pelvis.
Another frequent mistake is placing joints incorrectly. Elbows typically align with the bottom of the ribcage. Wrists align with the bottom of the pelvis. Getting these alignments wrong makes figures look distorted even if individual parts are drawn well.
Many artists draw symbols instead of structure. They draw a circle for the knee instead of understanding the joint anatomy. They draw generic hands without knuckle structure. Fight this tendency by always asking what lies beneath the surface.
Stiff poses plague beginners who focus too much on anatomy and forget gesture. Gesture captures the action and energy of a pose. Anatomy provides the structure. You need both. Start loose and gestural, then tighten with anatomical accuracy.
Another mistake is studying anatomy without applying it. Passive reading does not build drawing skill. You must draw what you study. Draw the skeleton. Draw the muscles. Draw the figure showing these structures. Active engagement is essential.
Finally, many artists compare their early work to masters and get discouraged. Remember that professionals have often studied anatomy for decades. Focus on your progress, not perfection. Every drawing teaches you something if you pay attention.
Common Challenges and How to Overcome Them
What is the hardest part of the human body to draw? Many artists struggle with hands, feet, and the complex shoulder girdle area. These regions have many overlapping forms and complex anatomy.
Hands intimidate artists because of their complexity and the fact that we see them constantly. Any error is obvious. Break hands down into simple forms – the palm as a block, fingers as cylinders, knuckles as spheres. Study hand anatomy but also draw hundreds of hands from reference.
Feet often get ignored because they are hidden in shoes or tucked under figures. However, understanding foot structure helps with standing poses and weight distribution. The foot has three main masses: the heel, the arch, and the ball with toes.
The shoulder girdle confuses artists because the scapula slides across the ribcage as the arm moves. The shoulder position changes based on arm angle. Study how the clavicle and scapula work together to enable arm movement.
Remember that difficulty indicates where you need focused practice. Instead of avoiding challenging areas, study them more intensively. The areas that frustrate you most often become your strengths with dedicated effort.
FAQs
How to study anatomy for art for beginners?
Start with simplified skeletal forms rather than memorizing every bone name. Learn the spine, ribcage, and pelvis as basic shapes. Add surface landmarks that show through skin. Study proportions using head measurements. Learn muscles one body region at a time. Apply each concept immediately through drawing rather than just reading.
Should I learn anatomy before drawing?
You do not need complete anatomy knowledge before starting to draw. Begin drawing immediately while studying anatomy in parallel. Focus on one anatomical concept per session and apply it in your next drawing. This active engagement prevents bad habits and builds understanding faster than pure memorization.
What is the hardest part of the human body to draw?
Most artists find hands, feet, and the shoulder girdle most challenging. Hands have complex overlapping forms and we see them constantly, making errors obvious. Feet contain many small forms and are often neglected in practice. The shoulder girdle confuses artists because the scapula slides across the ribcage, changing position with arm movement.
How long does it take to learn anatomy for art?
Expect to spend at least six months building foundational anatomy knowledge before feeling comfortable. Mastery takes years of continued study and practice. Study one body region at a time, apply concepts through active drawing, and review regularly. Anatomy learning is spiral rather than linear – you build deeper understanding with each review cycle.
Conclusion
The basics of human anatomy for artists give you the foundation to draw believable figures from imagination. You have learned the essential skeletal structures, surface landmarks, proportions, and muscle groups that matter most for drawing. More importantly, you now have a roadmap for studying anatomy without overwhelm.
Remember that anatomy is a tool, not a rigid rulebook. Use it to understand what you see and to construct figures that feel solid and alive. Combine your anatomical knowledge with gesture to capture both structure and life in your drawings.
Start with the skeletal forms. Add landmarks. Practice proportions. Study muscles by region. Apply everything through active drawing. Review regularly and be patient with your progress. Every professional artist started exactly where you are now.
Your next step is simple: pick up your pencil and draw. Choose one concept from this guide and apply it today. Draw a figure showing the spinal curve. Sketch a torso with the ribcage and pelvis as blocks. Study a hand, breaking it down into simple forms. The knowledge becomes yours through use.
Keep drawing, keep studying, and trust the process. Your figures will grow more convincing with every drawing session.